
CS2 Skin Screenshot Guide
Learn advanced skin screenshot techniques using console commands to enhance your Steam profile or elevate your cash trading on platforms like Twitter. Discover how to manipulate viewmodel positioning, add life to your screenshots, and capture agent skins in third-person.
Increase your Resolution
By raising your screen resolution, you can improve the quality of your screenshots. Don't forget to change your resolution in the in-game video settings!
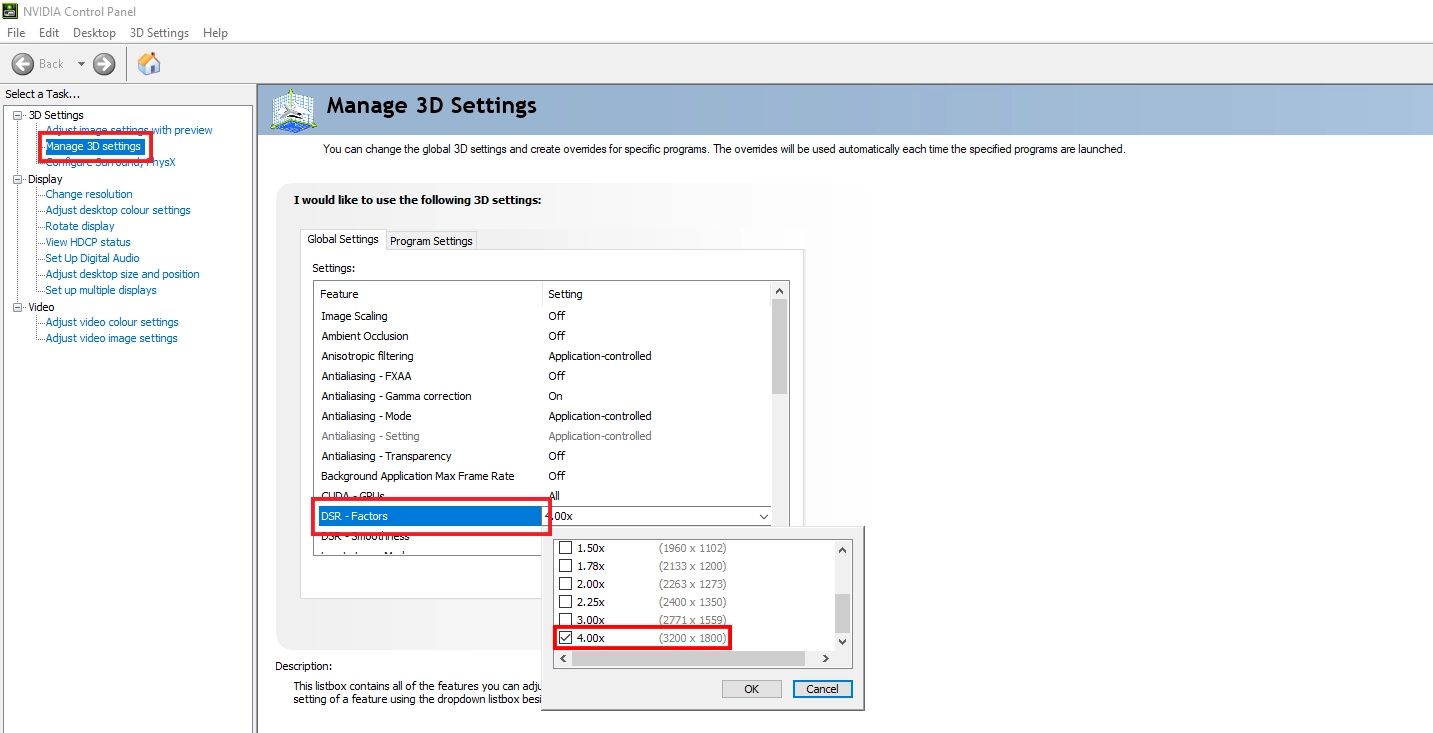
Nvidia
Right-Click on Desktop > Nvidia Control Panel > Manage 3D Settings, Find the option for DSR - Factors, set to max > Apply > Change your resolution in-game in video settings.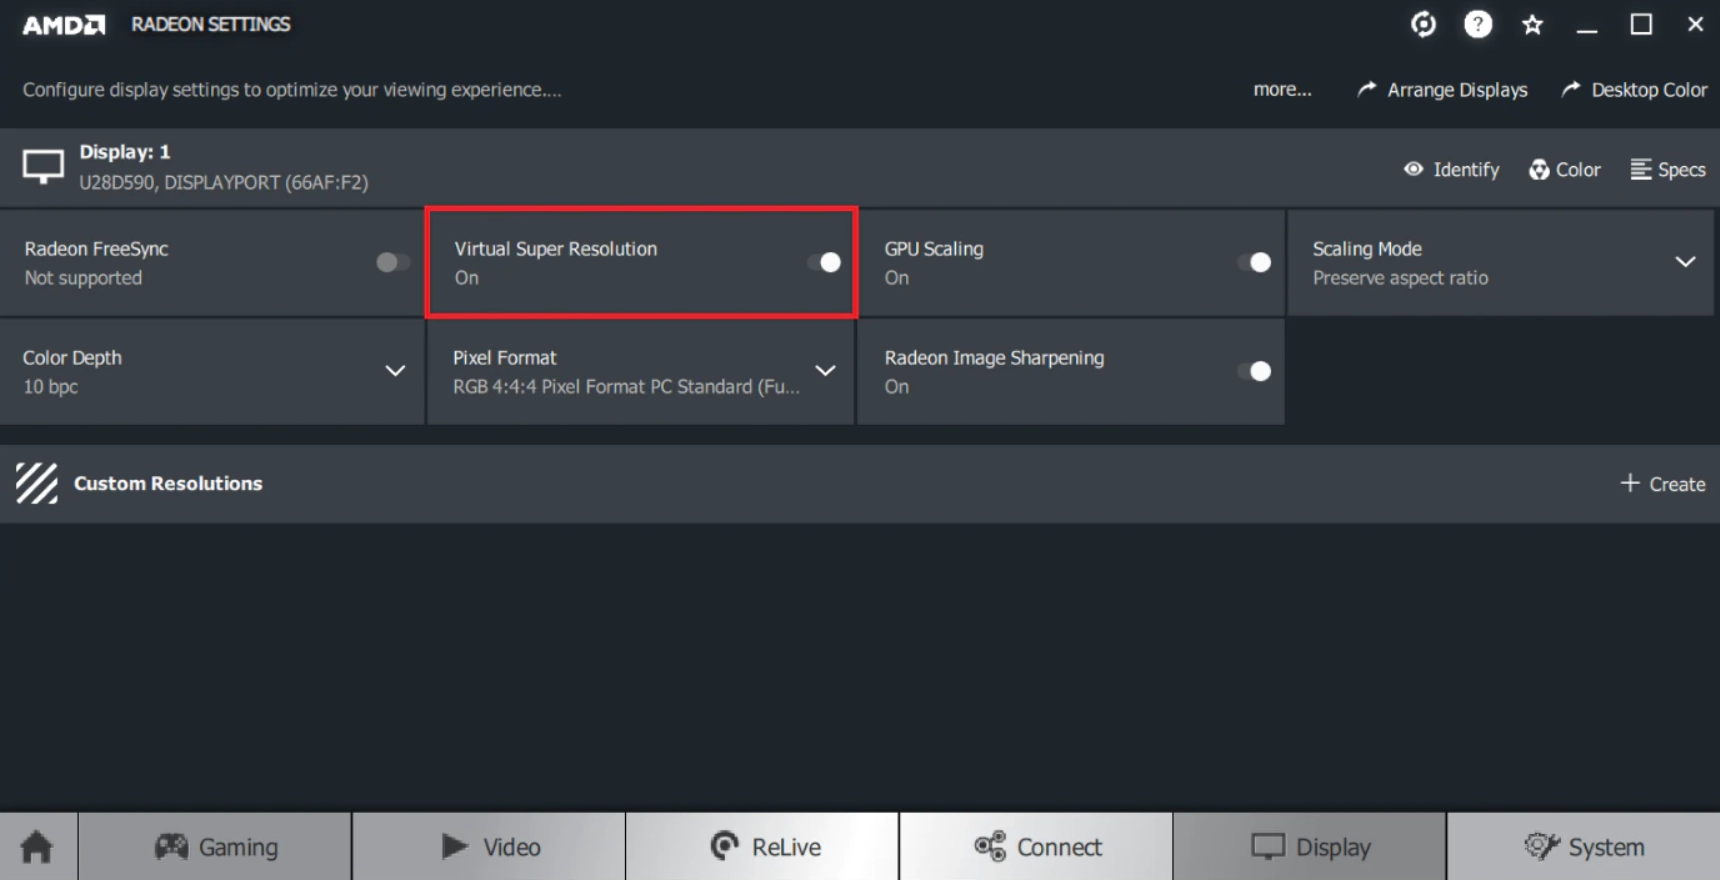
AMD
Right-Click on Desktop > AMD Radeon Settings > Display > Turn on Virtual Super Resolution > Apply > Change your resolution in-game in video settings.Enable Dev Console
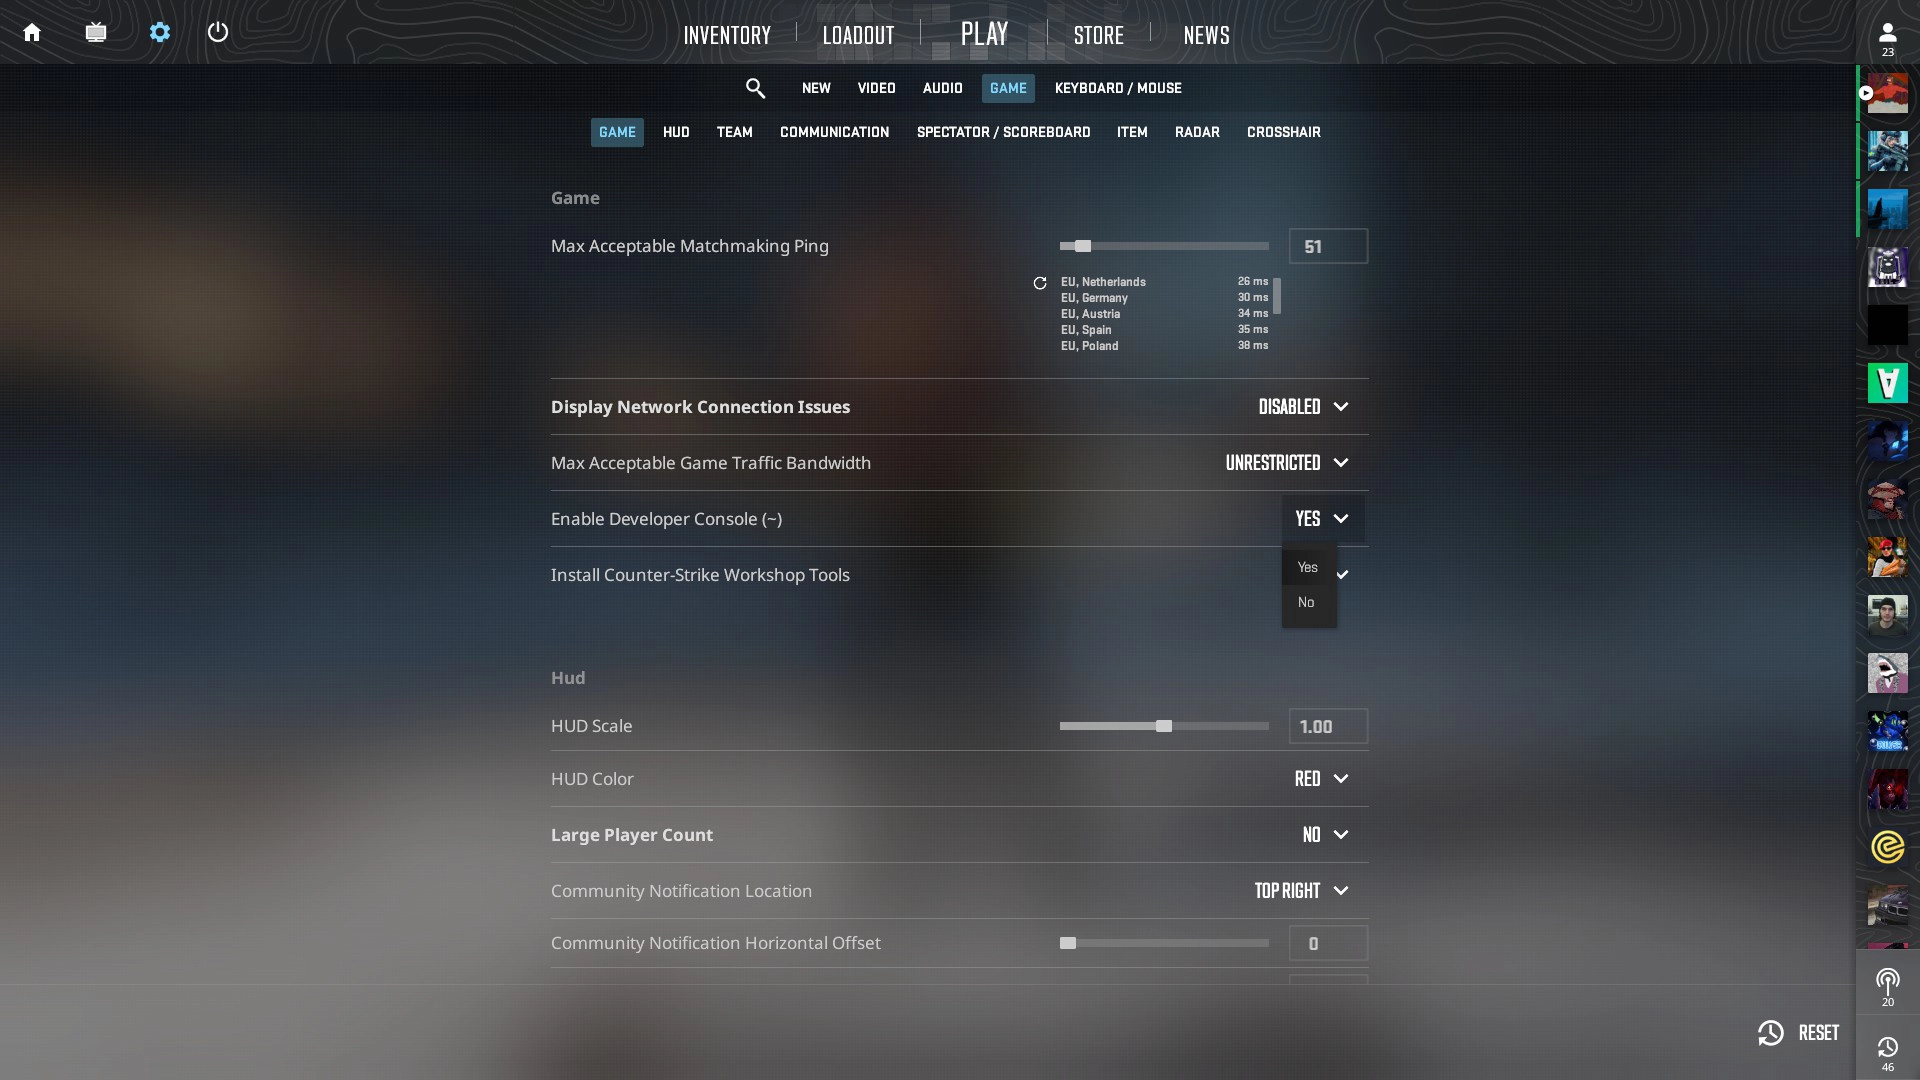
In-game, head over to the settings menu by clicking the cog on the top left of your screen. Go to the 'Game' tab. Near the top, you should see an option to Enable Developer Console. Change this to 'Yes' and you will be able to pull up the console using the [`] or [~] button. You can change this key in 'Keyboard/Mouse' settings.
Recommended Maps
When curating the backdrop for your screenshot masterpiece, the choice of map can make all the difference. Counter-Strike 2 offers a range of default maps that suit various themes, providing a convenient starting point for showcasing your skins. However, for those seeking a touch of uniqueness, venturing into the Steam Workshop unveils a treasure trove of downloadable maps. These user-created environments can add an extra layer of personality to your screenshots, elevating your skin showcase game. Whether you opt for the classics or dive into the creative depths of the Steam Workshop, the choice of map becomes the canvas upon which your skins truly shine.
Default Maps
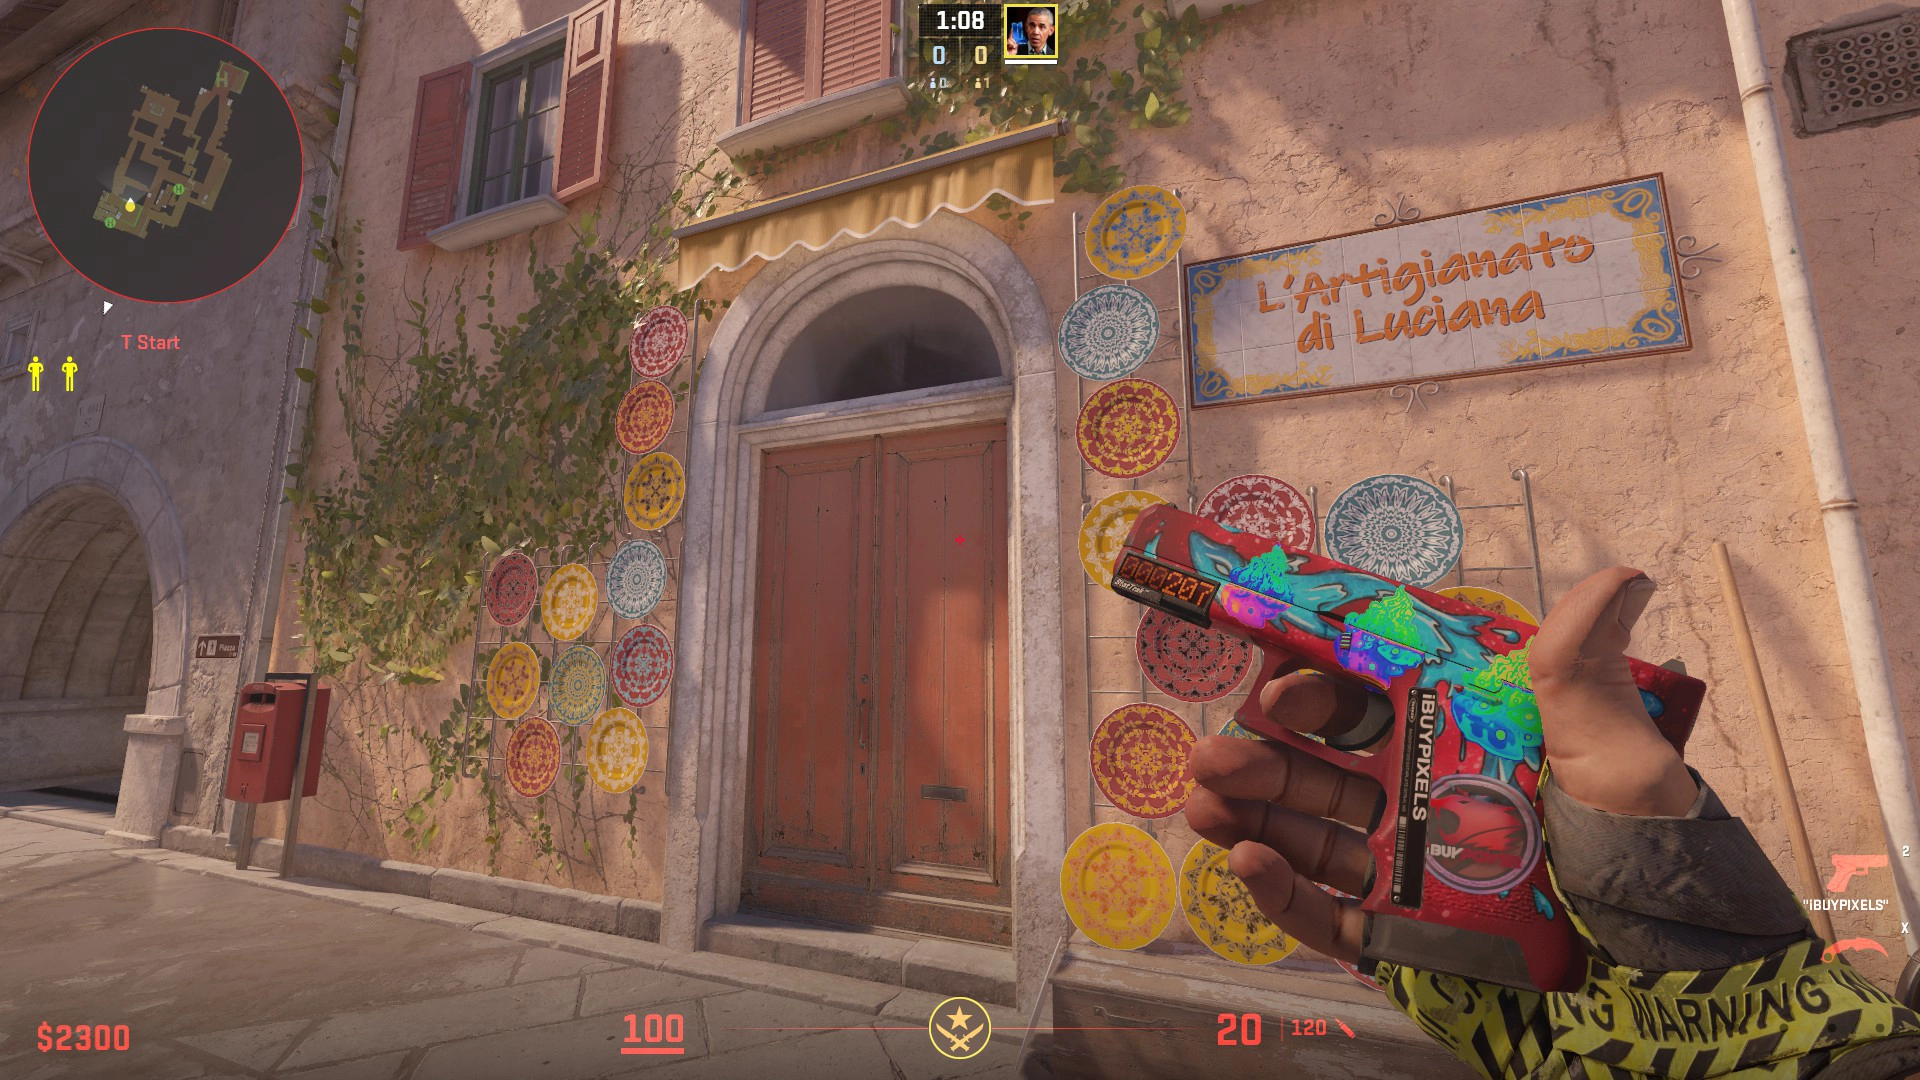
CS2 maps like Vertigo, Ancient, and Italy serve as excellent choices for capturing in-game screenshots due to their unique visual attributes. Vertigo's industrial design and city skyline skybox provides some really unique angles and perspectives for your screenshots. Ancient, with its lush greenery, is an ideal backdrop for showcasing green skins and Italy stands out for its appealing lighting, creating a warm and atmospheric ambiance that enhances the overall aesthetics of the screenshots.
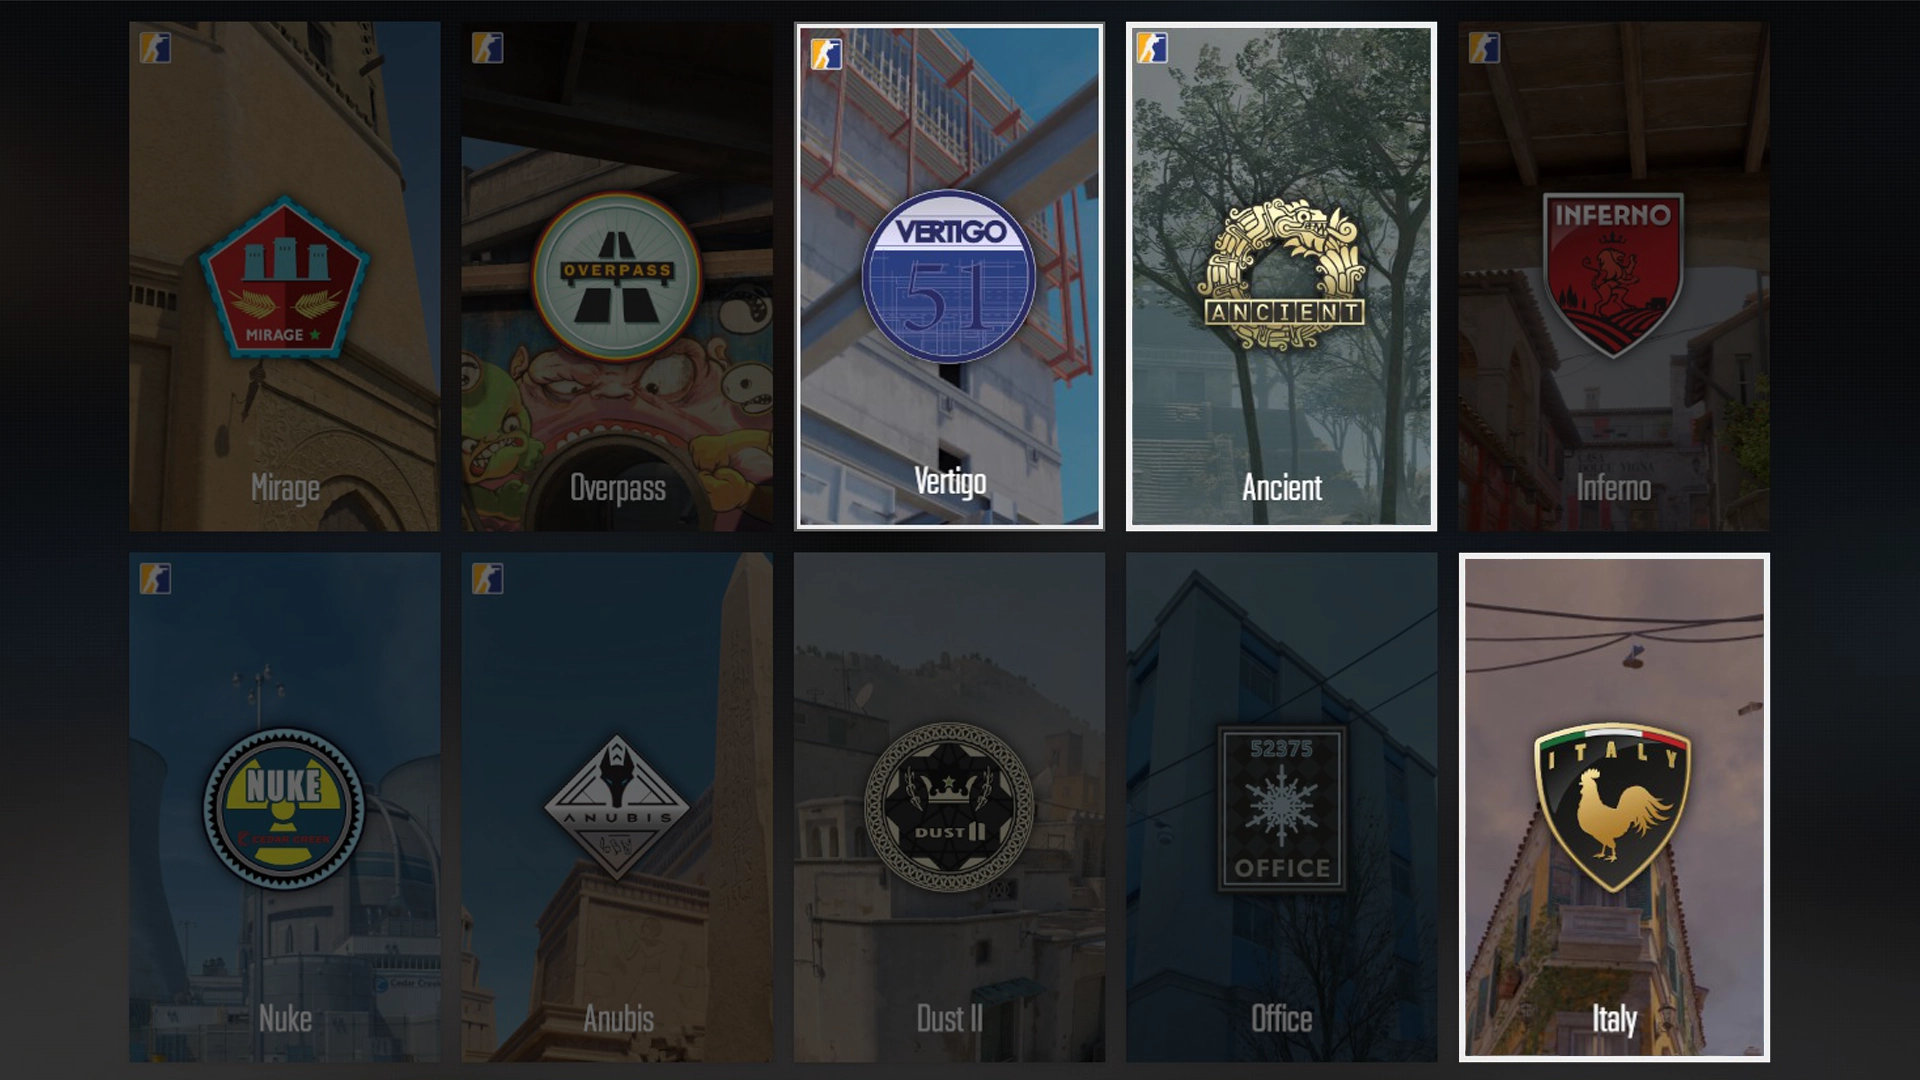
With all that being said, these are only suggestions and you can explore any map to find your perfect photoshoot loction!
Workshop Maps
If you're tired of the default maps for screenshotting and want something fresh, you can easily opt for a workshop map. Just go to the workshop page and click the subscribe button. This allows you to access a variety of user-created maps that can add diversity to your screenshots. It's a straightforward process to break away from the monotony of default settings and explore new environments for your in-game captures.
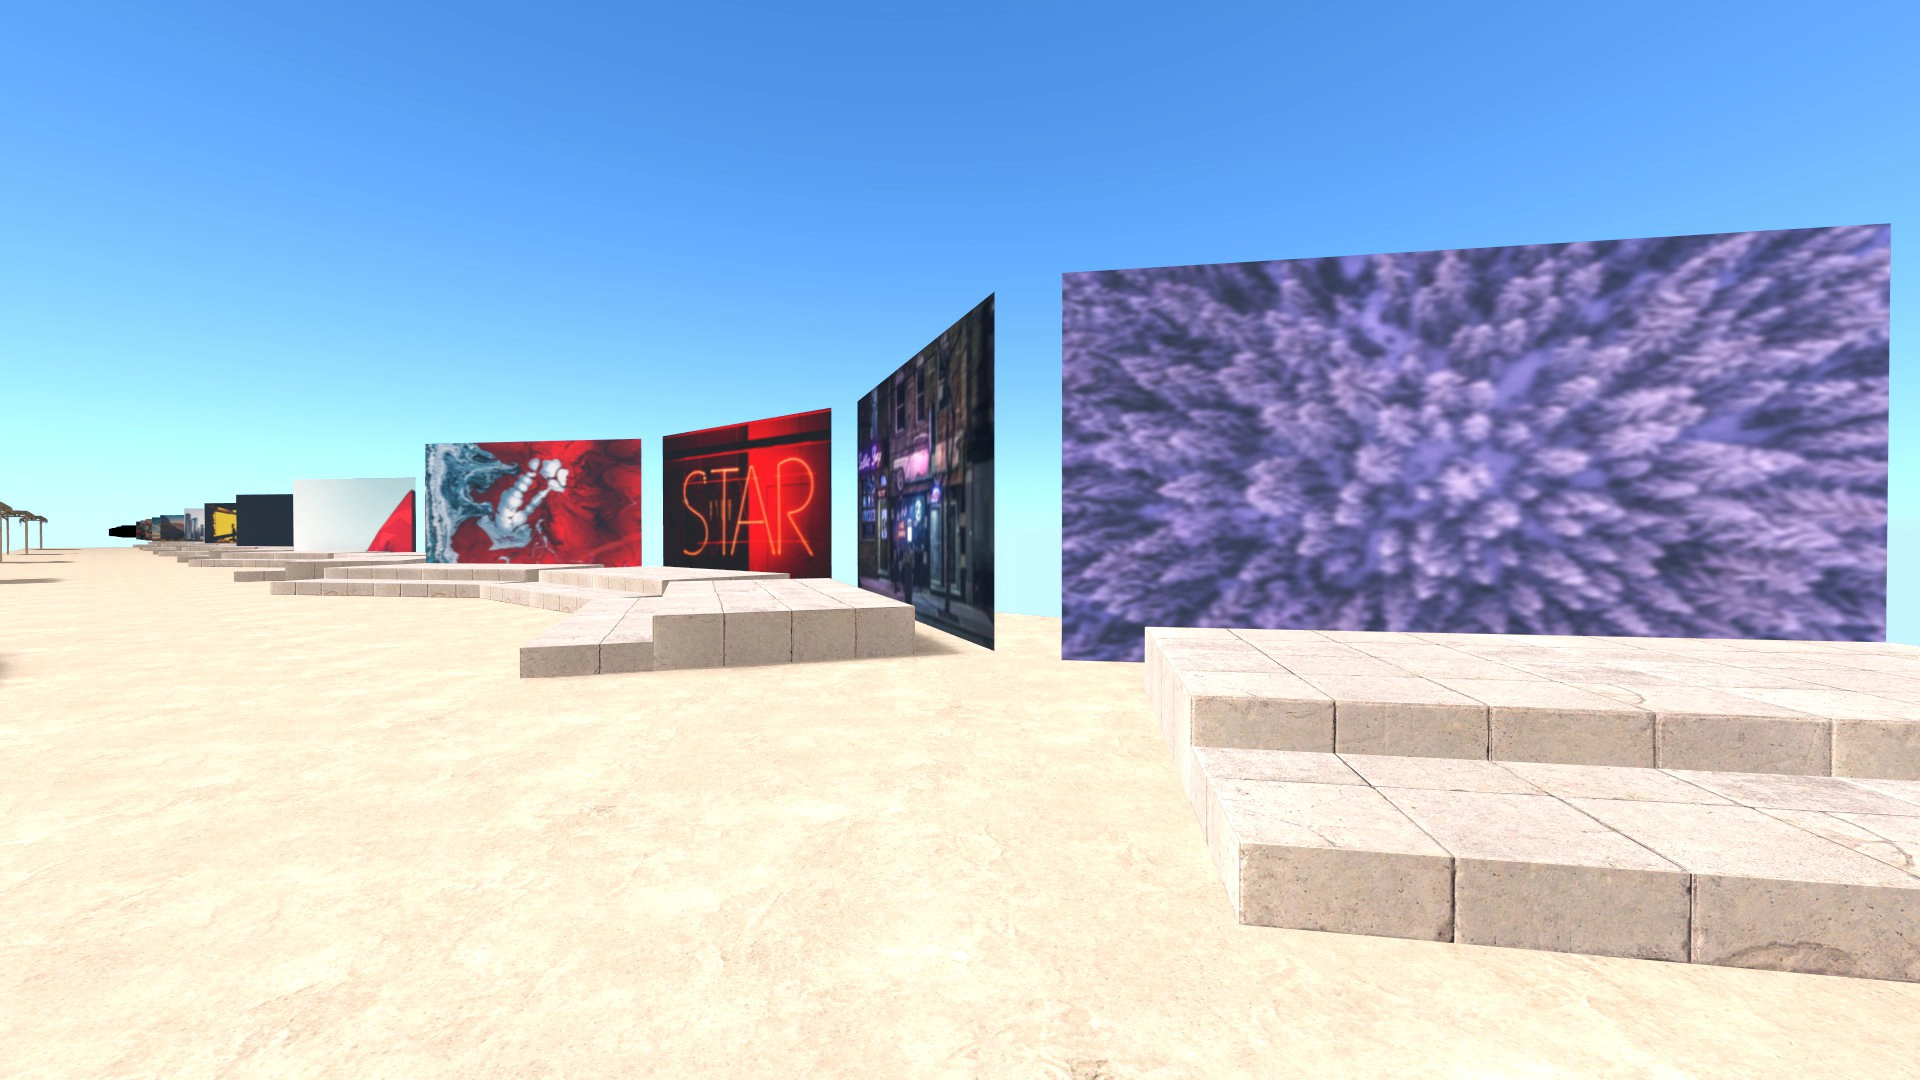
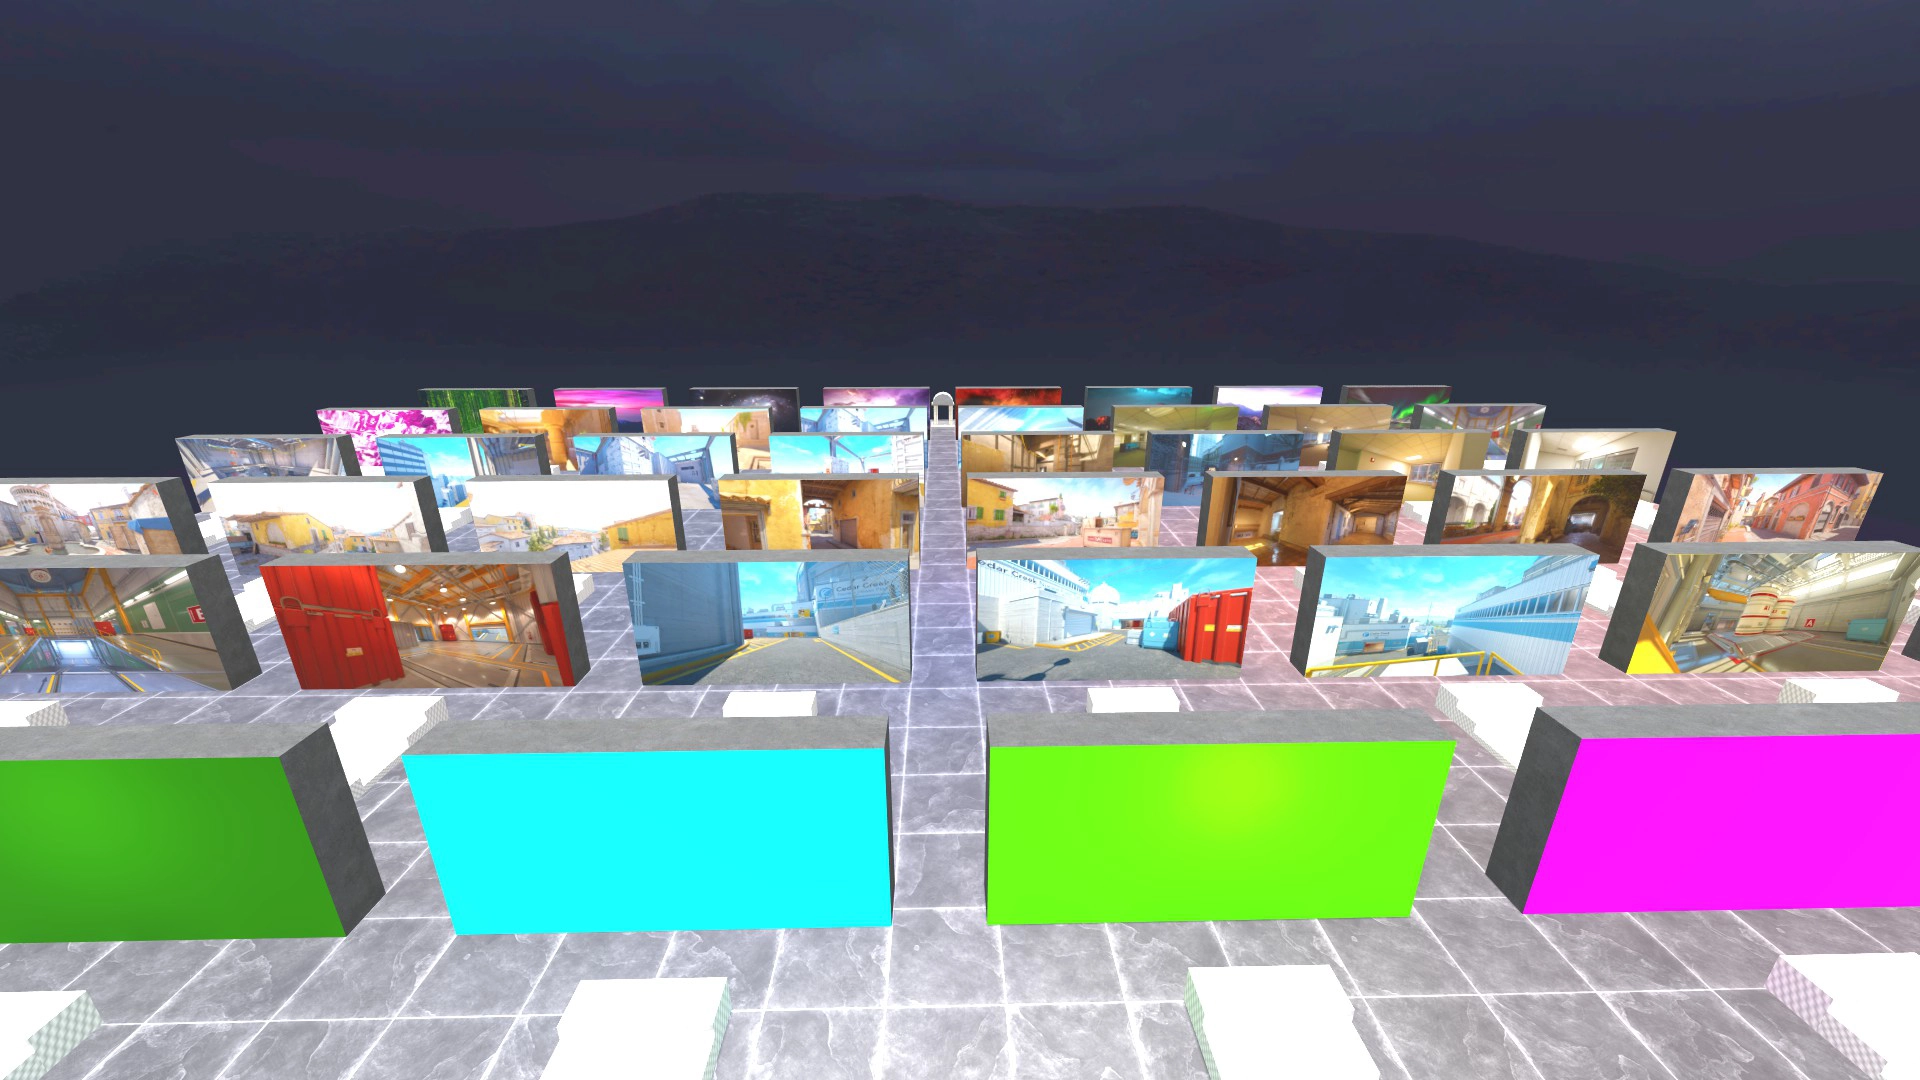
Skinworld Beach
Over 100 different backgrounds for screenshots, a greenroom, a beach and more!
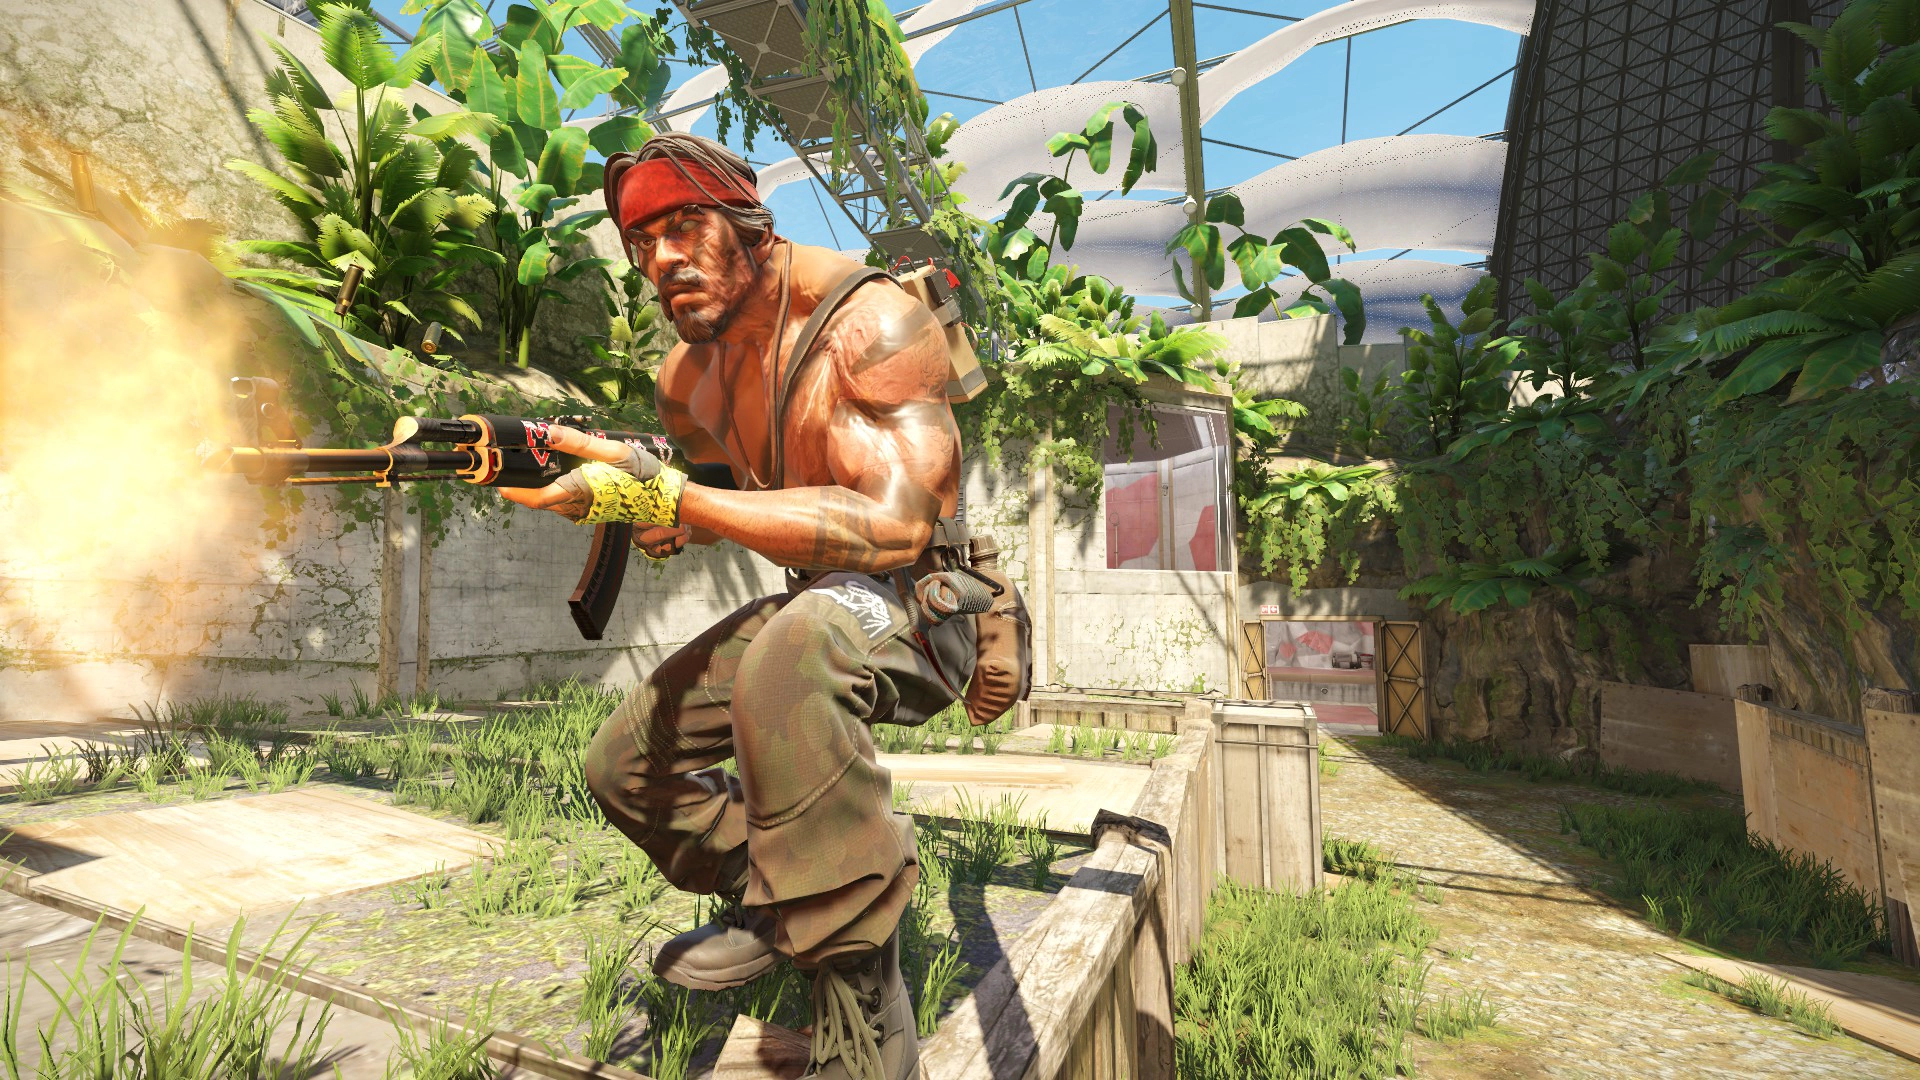
Biome CS2
A stunningly beautiful map, winner of Mapcore's CS:GO Mapping Contest 2017, recreated for CS2
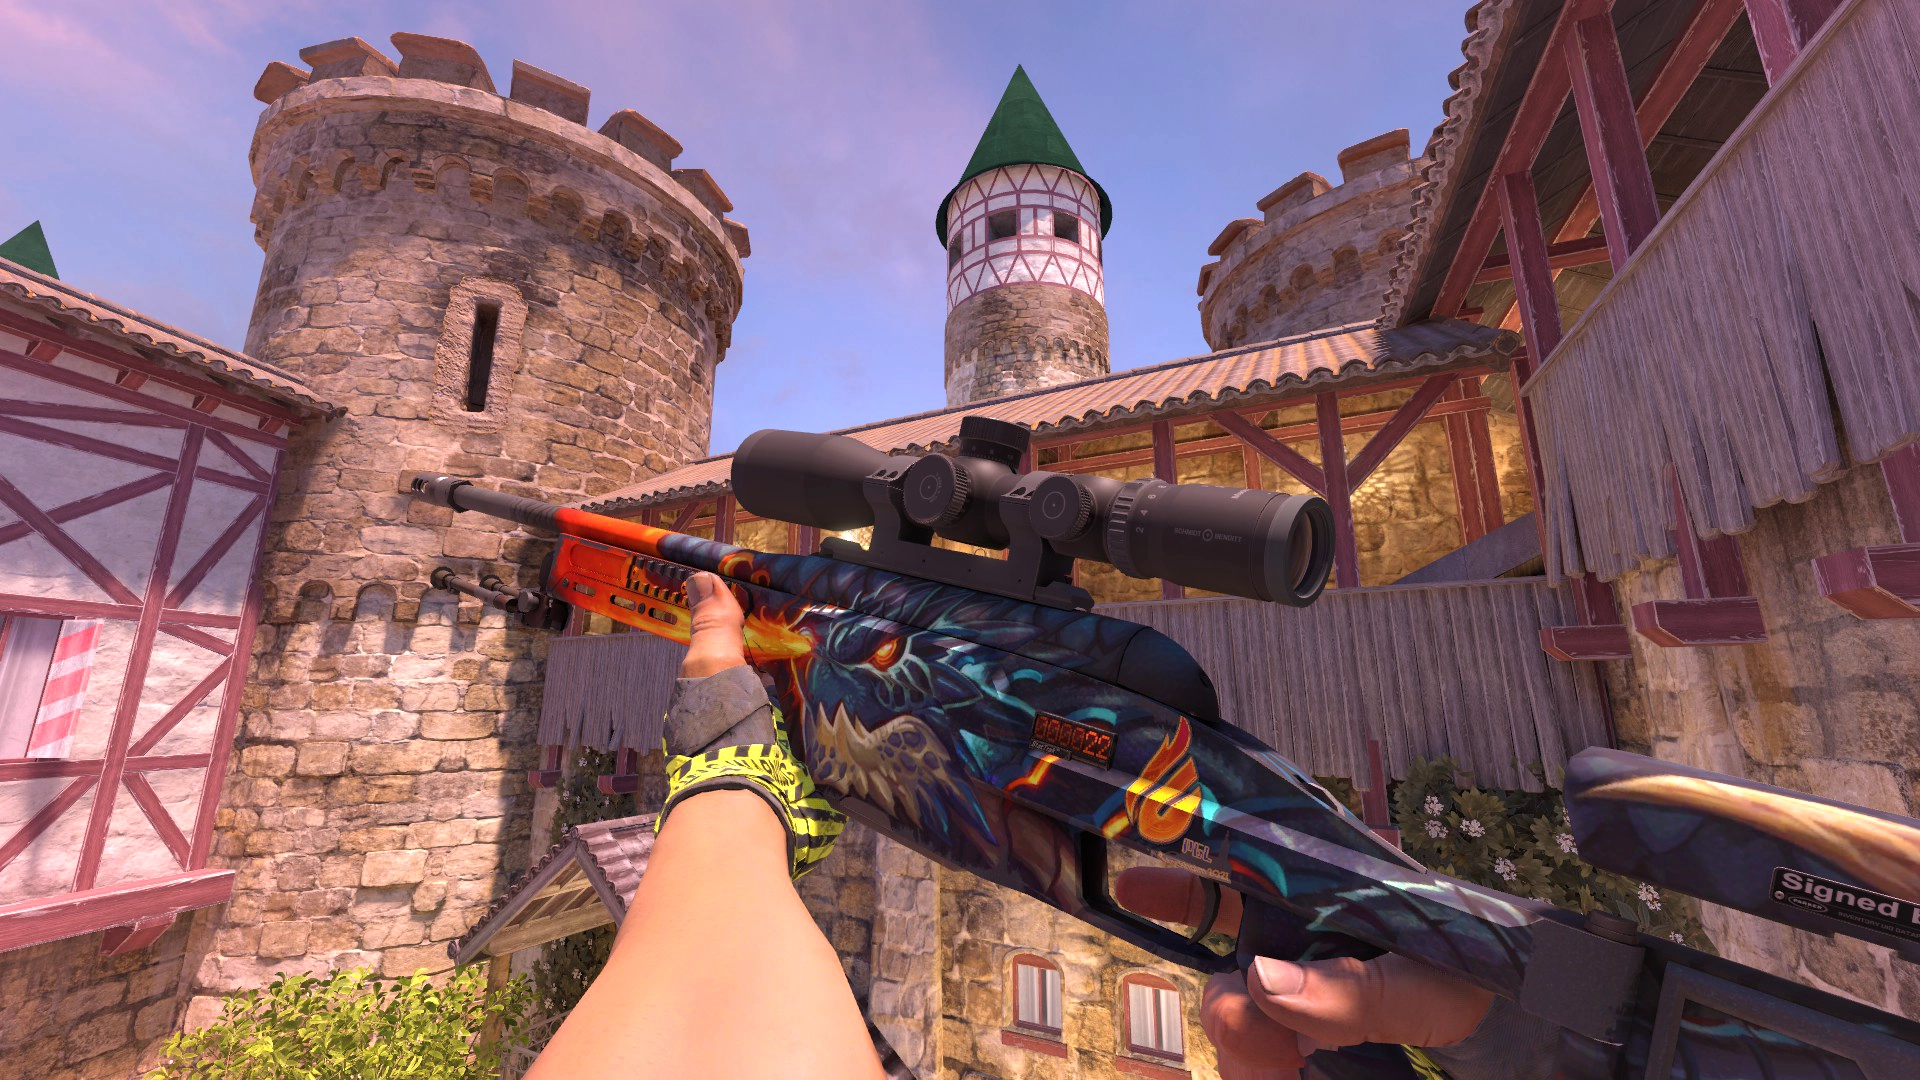
Drawbridge
A beautiful castle themed map with lovely lighting. Features nice indoor and outdoor areas.
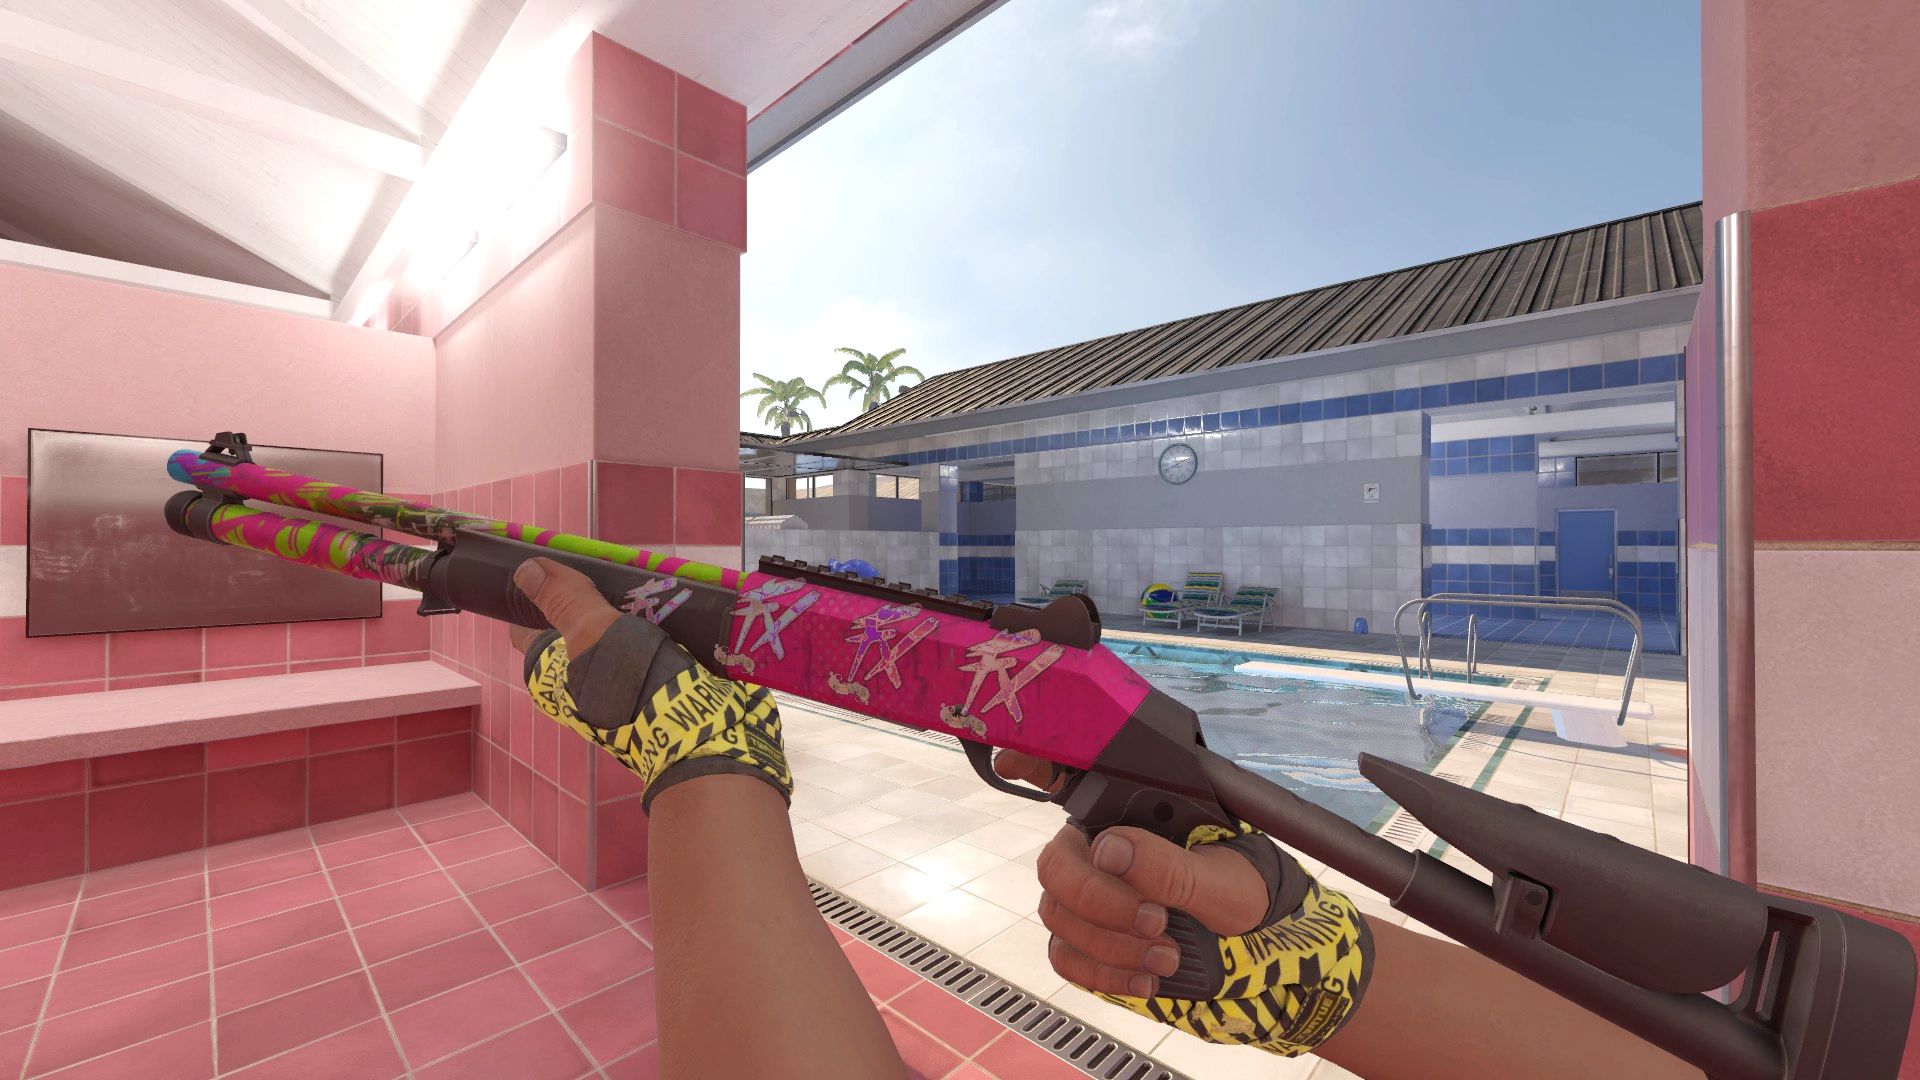
fy_pool_day CS2
A CS2 port of the classic CS 1.6 map created by Squall featuring a pool as well as pink and blue changing rooms.
Inspect Skins
96 different backgrounds for screenshots, lighting changer, different skyboxes and more!
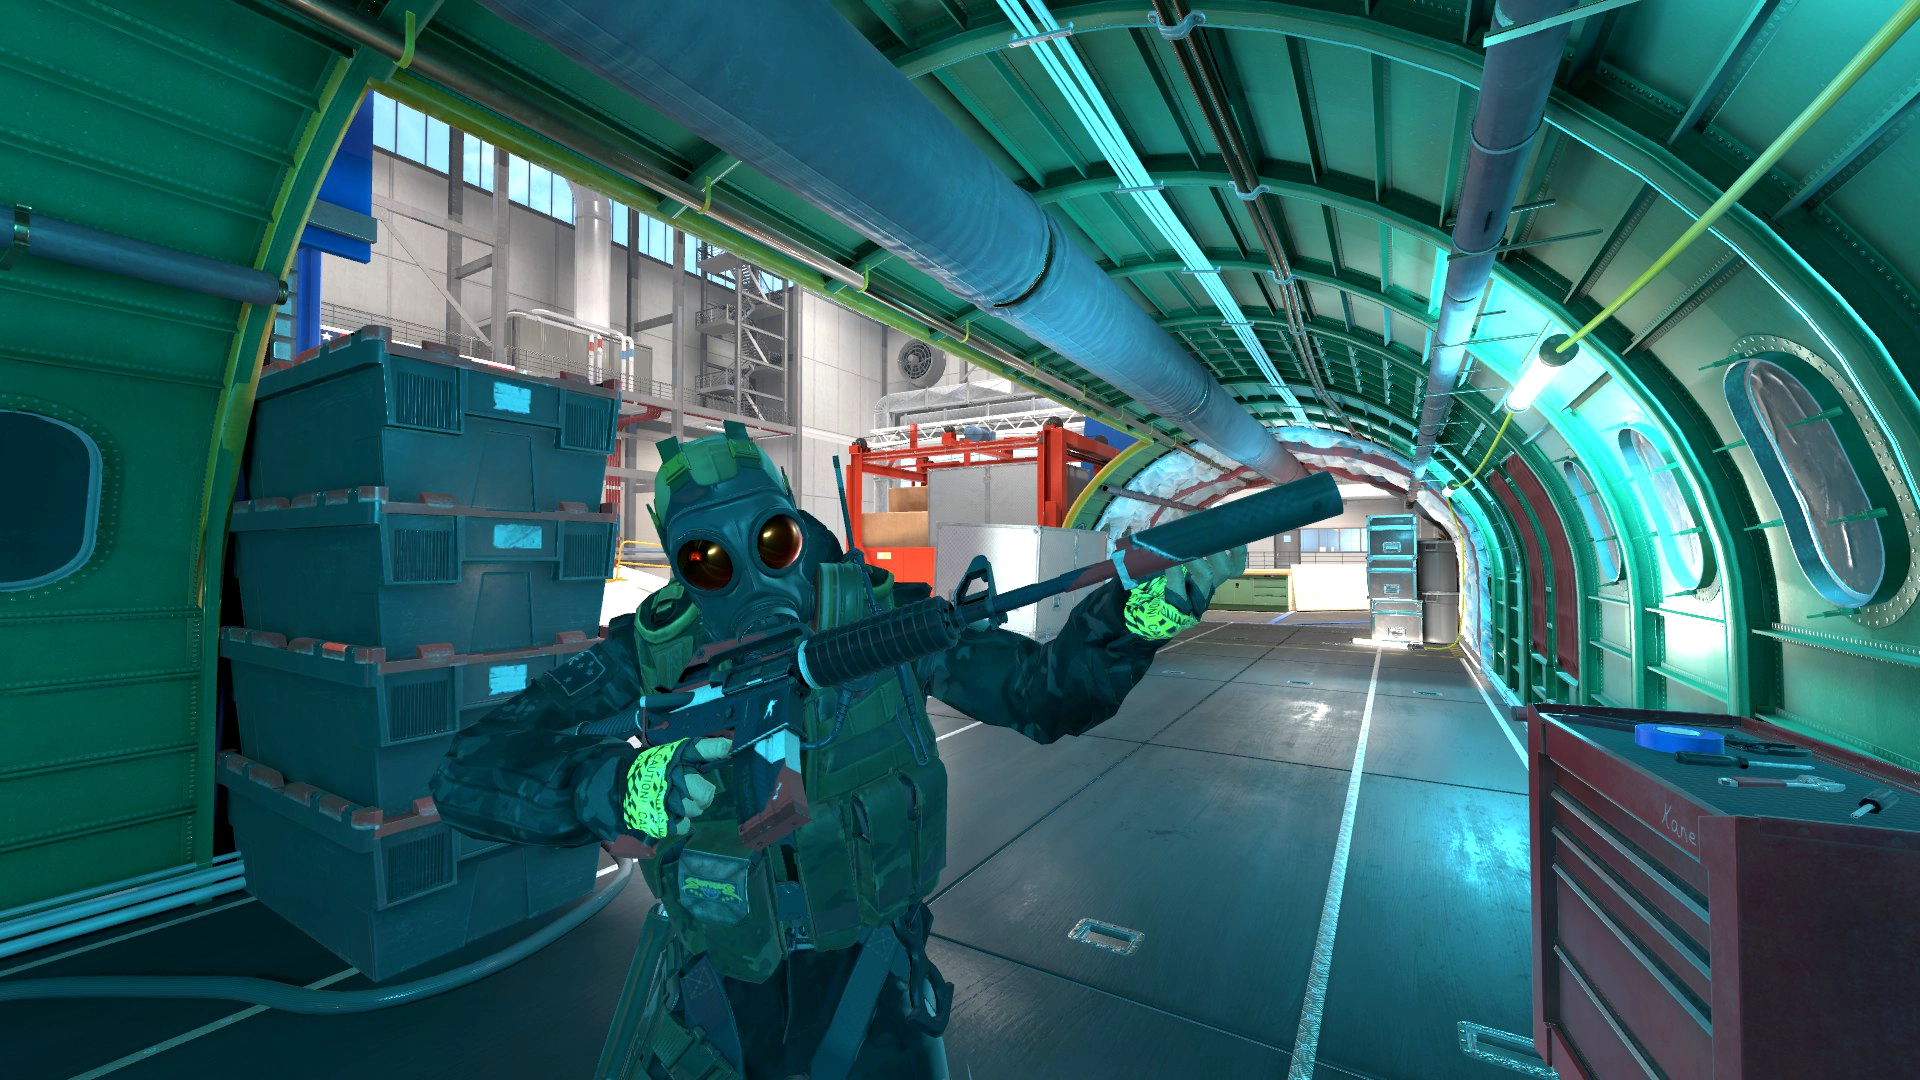
Assembly
Aircraft components and machinery provide a backdrop for some really visually appealing screenshots.
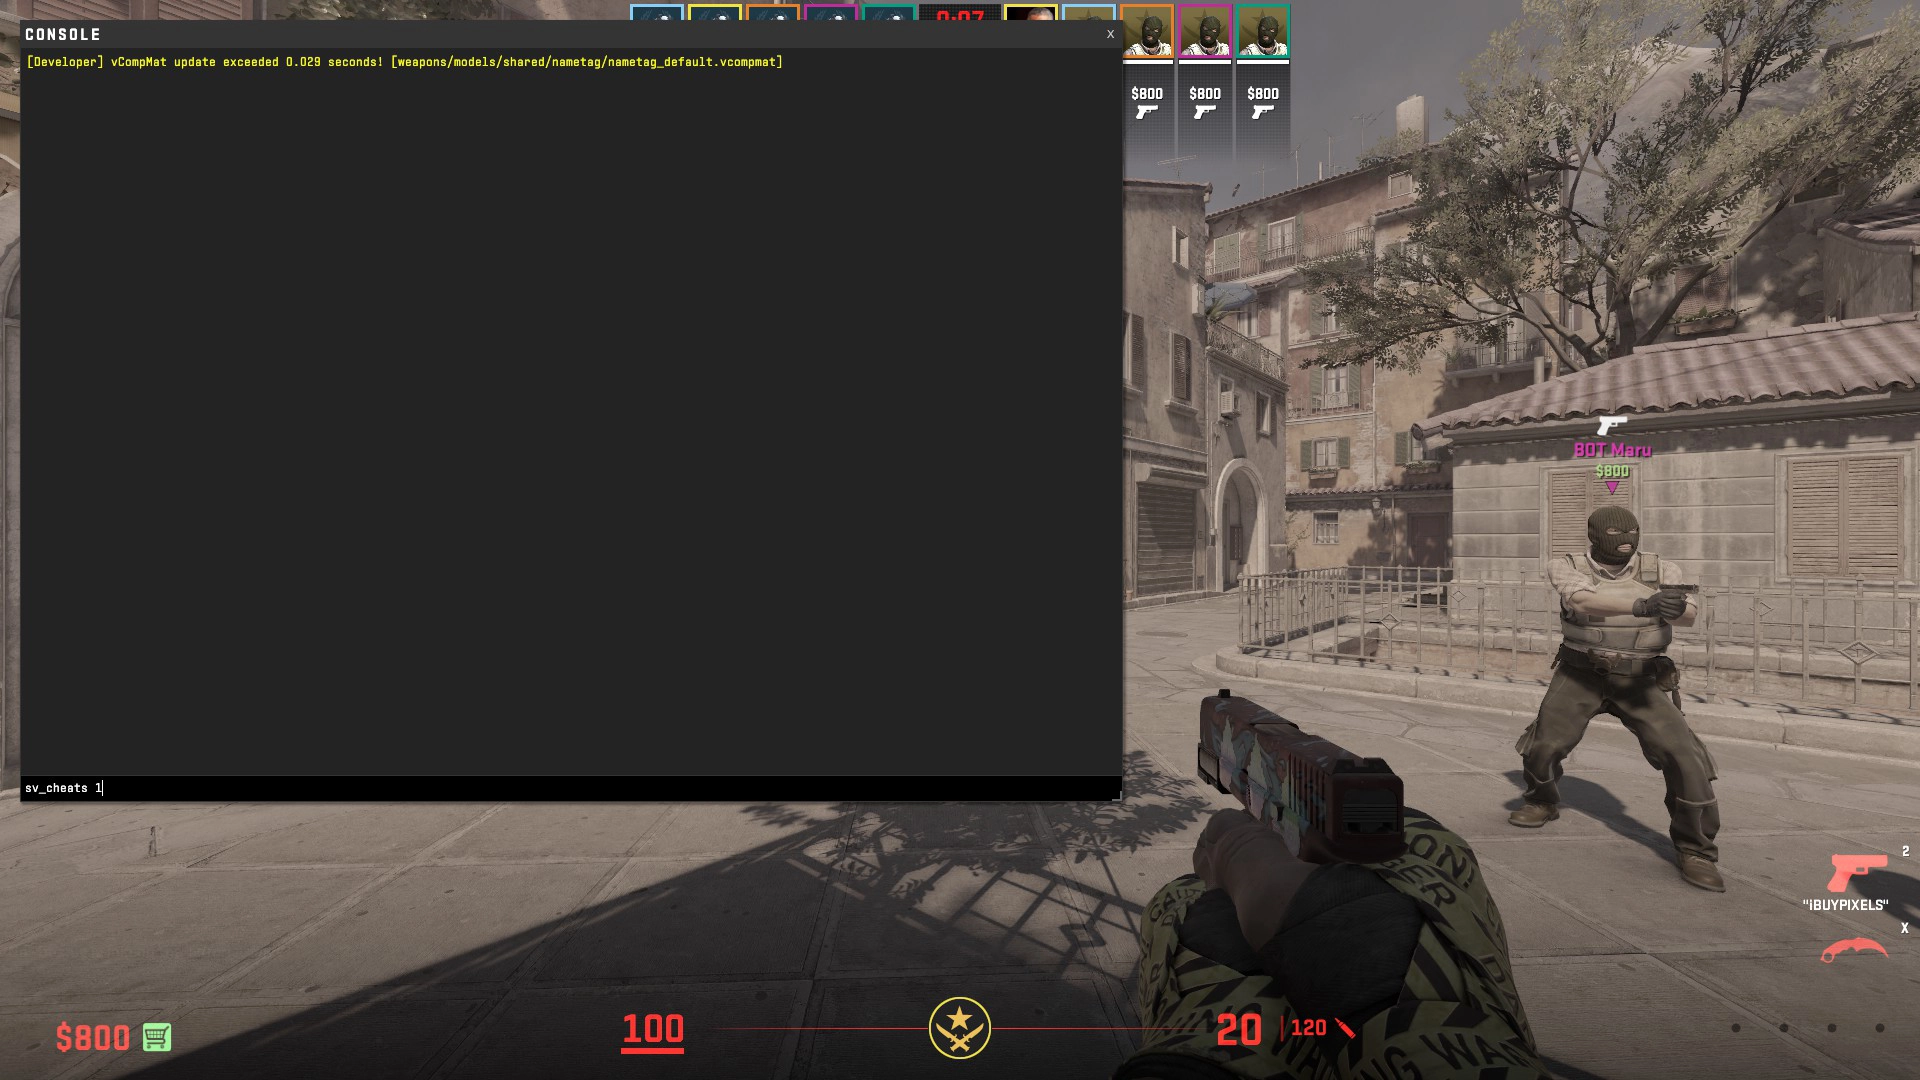
Enable sv_cheats 1
Once you have loaded into the map of your choice, the first step will be enabling sv_cheats 1 in your dev console. sv_cheats 1 is a console command in many Source engine-based games, including CS2. When you set sv_cheats to 1, it enables cheat commands on the server. This will be useful for making our screenshots more unique and interesting!
sv_cheats 1
Use “cheat protected” commands (Needed to use the rest of the commands listed in this tutorial)
Using sv_cheats 1 on a Public Server
In order to use commands on a public server you must first start a practice server and enable sv_cheats 1 in the developer console. Without leaving the private practice server, join directly into the public server.
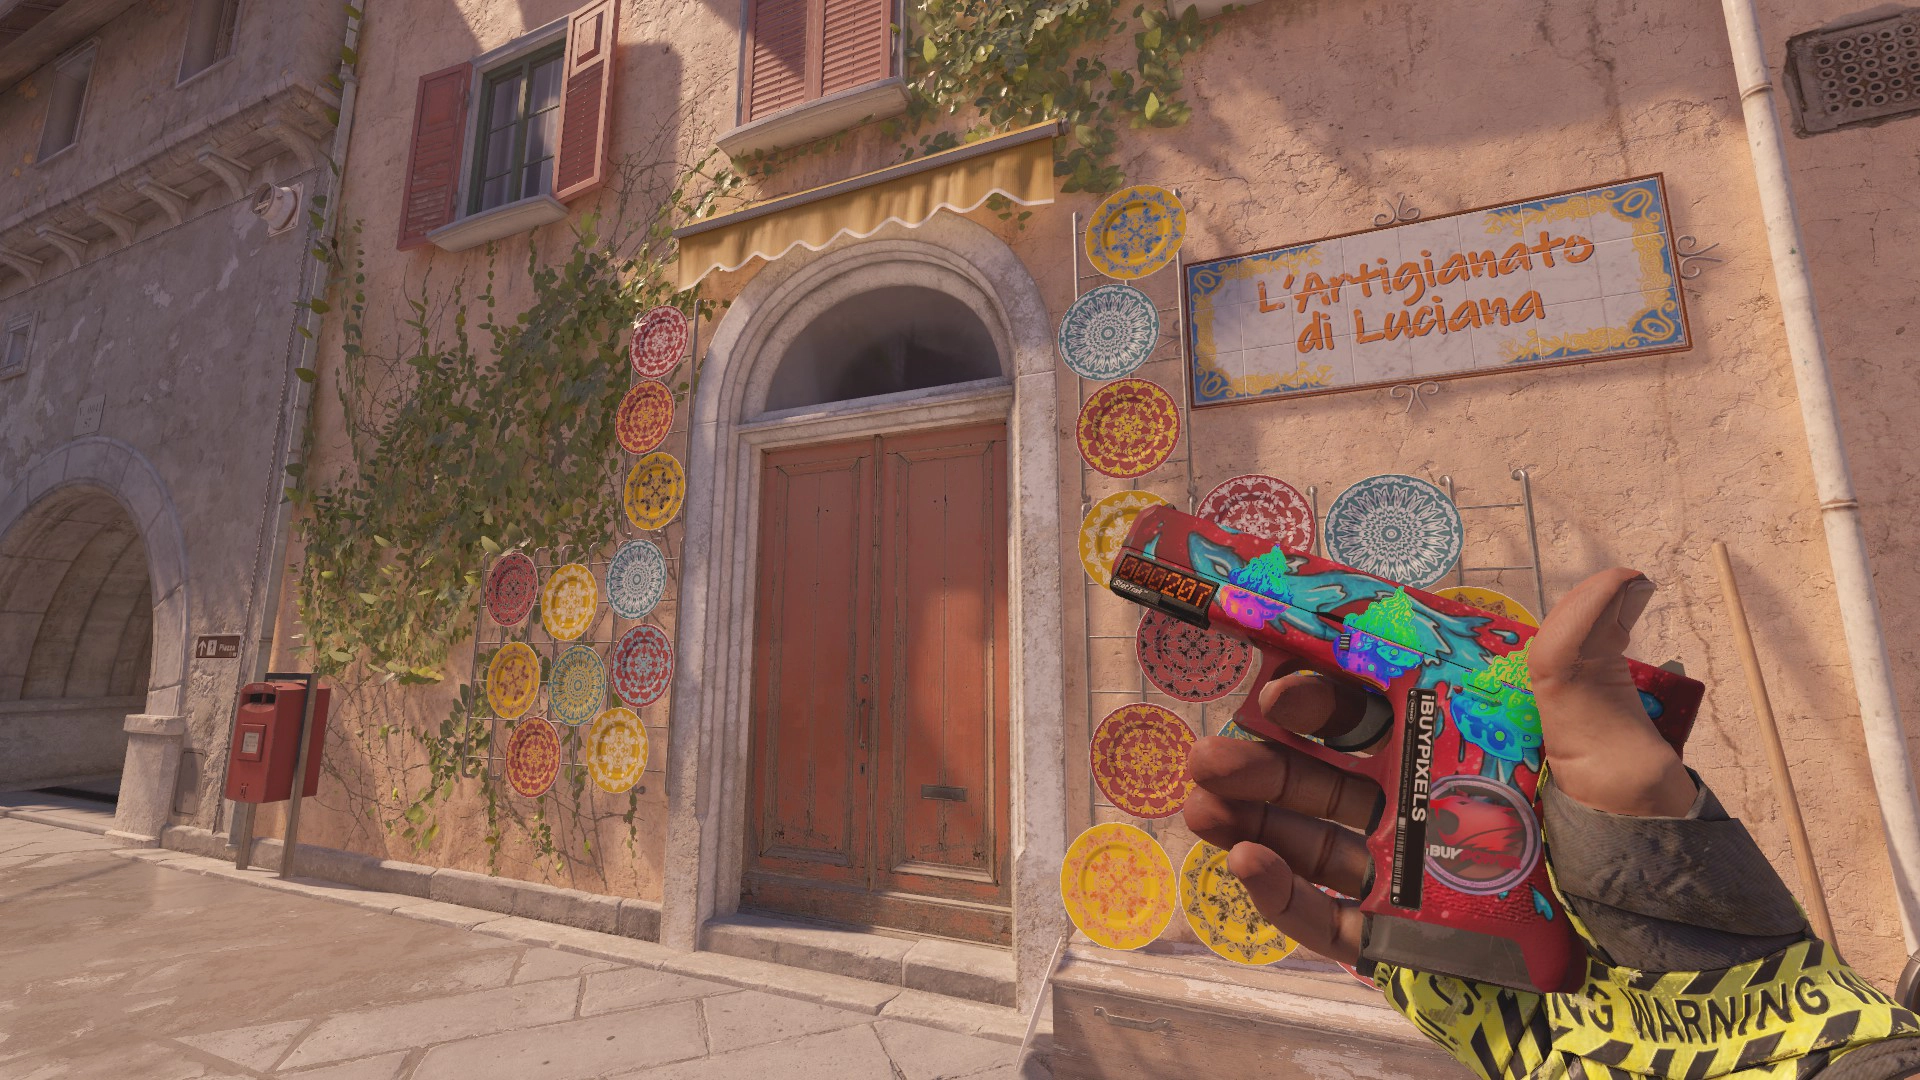
Hide HUD and Crosshair
Turning off the Heads-Up Display (HUD) when taking a screenshot is often done to capture a cleaner and more visually appealing image. The HUD typically includes elements like health bars, ammo counts, and other on-screen indicators that provide essential information during gameplay. When these elements are removed, the resulting screenshot focuses solely on the in-game environment, characters, and actions, offering a more immersive and aesthetically pleasing snapshot.
cl_drawhud 0
Hide your HUD (Ammo count and health points) and your crosshair
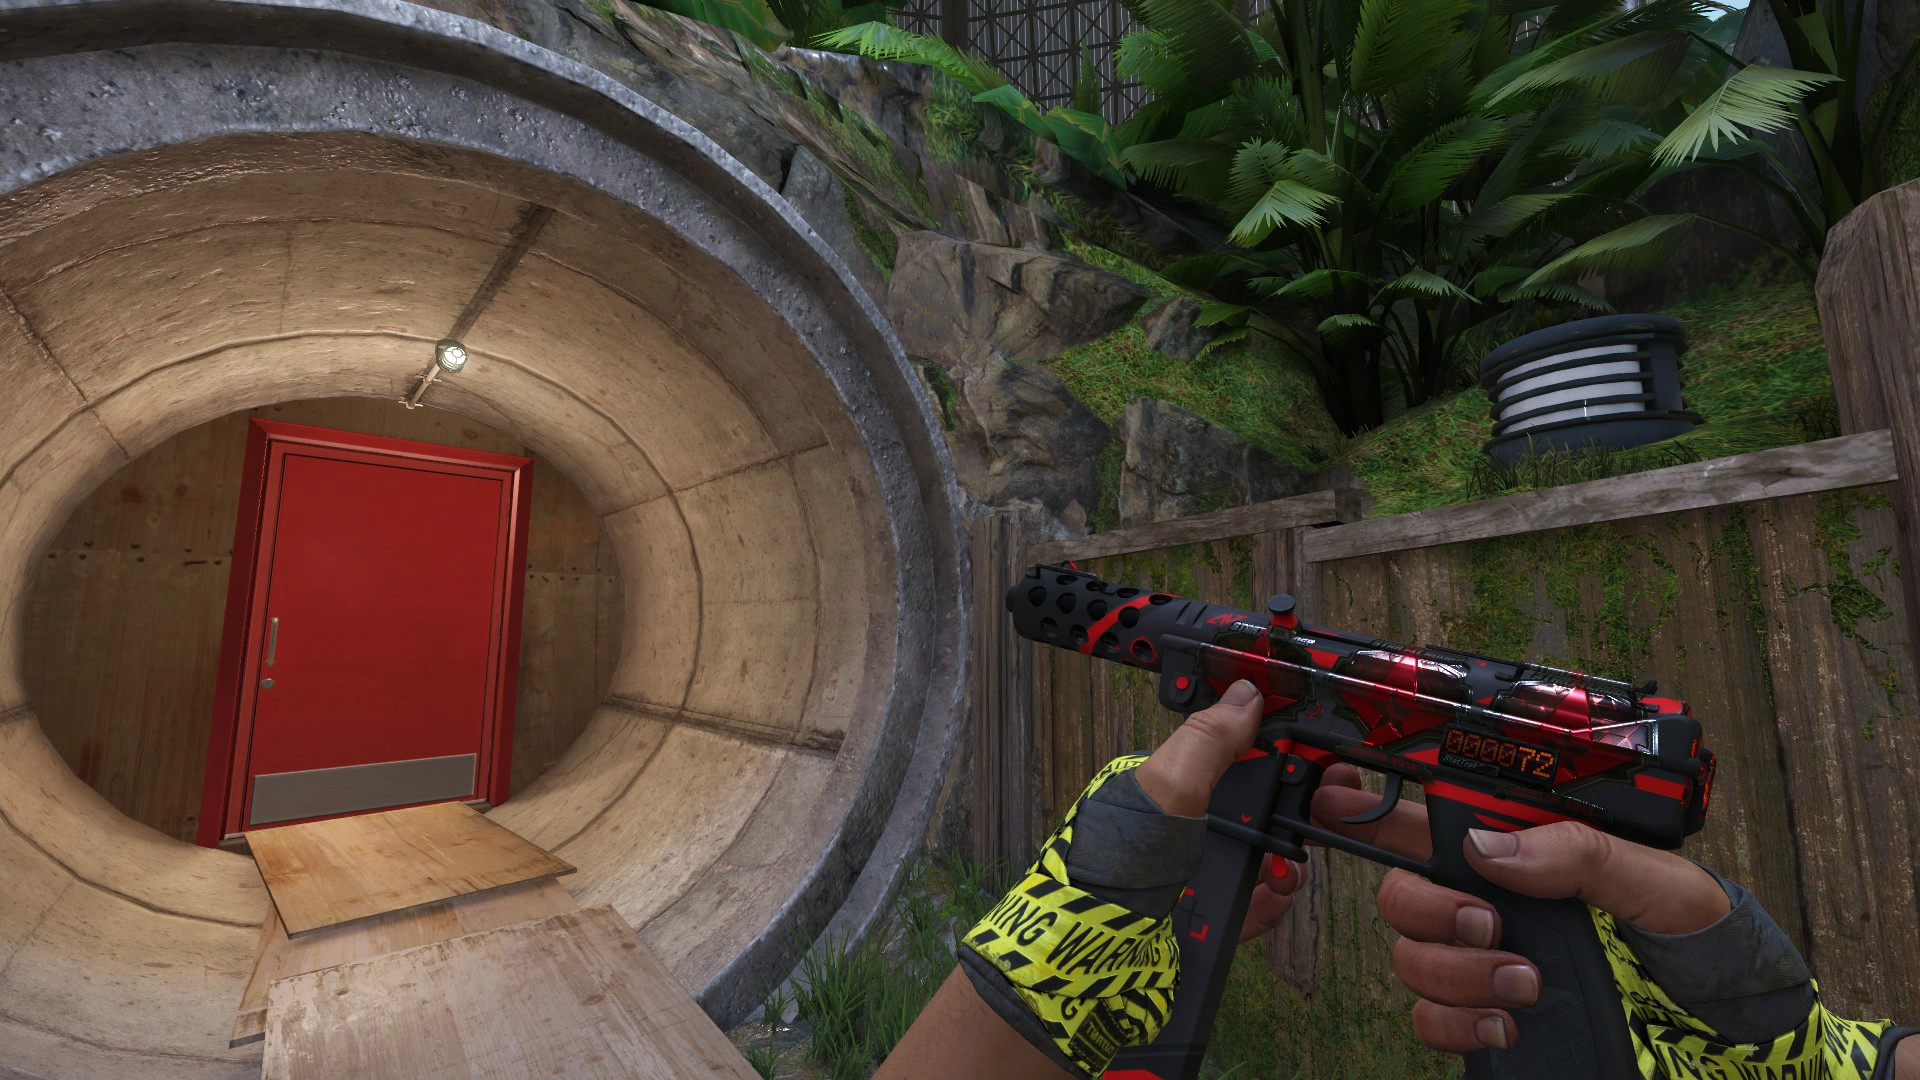
Manipulating your Viewmodel
Breaking free from the constraints of the default first-person view can take your screenshotting game to new heights. This is where viewmodel manipulation steps in as the game-changer. By manipulating your viewmodel settings, you can gain the ability to capture stunning screenshots of your prized Counter-Strike skins from unconventional angles.
Making sure sv_cheats 1 is enabled, you can use cl_lock_camera 1 in your dev console to lock your eyes into place allowing you to move your viewmodel into new positions.
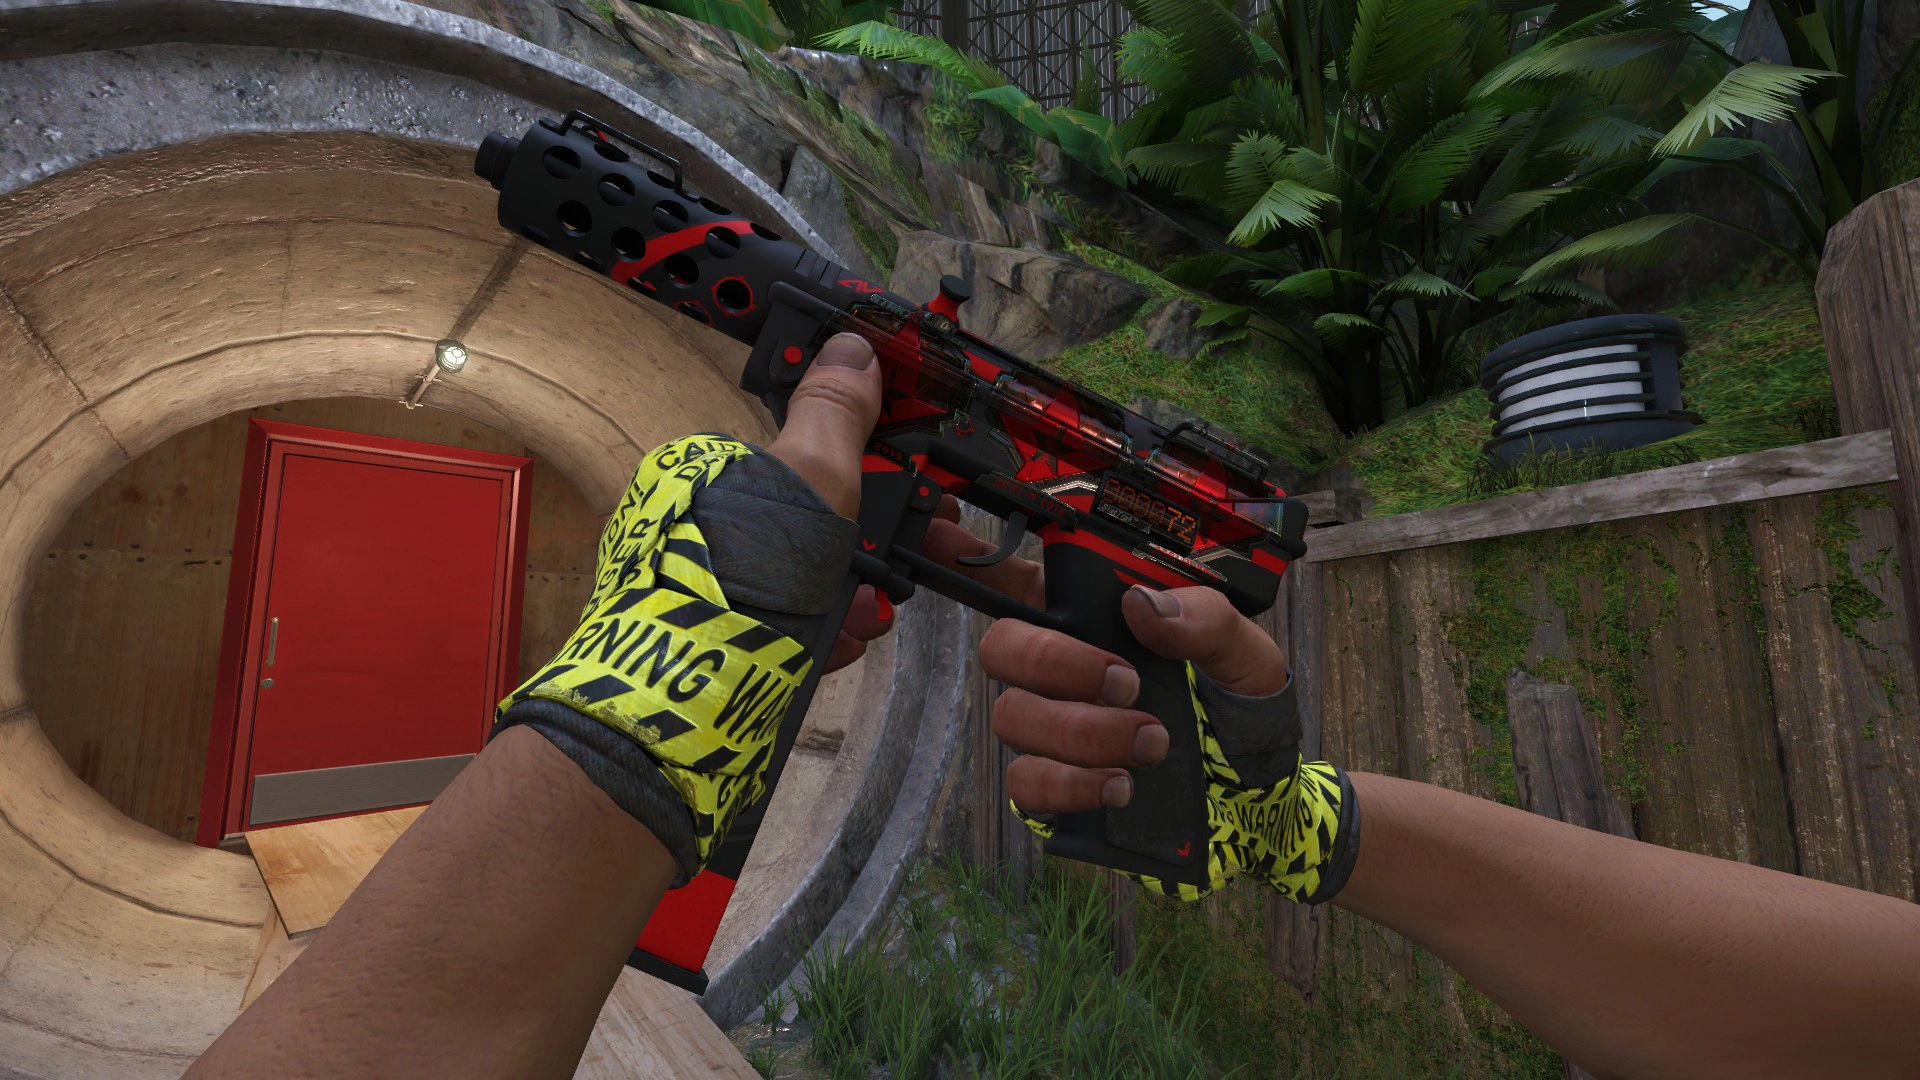
cl_lock_camera 1
Locks your eyes into place, letting you to move your character about freely. This allows for more interesting screenshots.
Useful Console Commands
These super useful console commands will help you take your screenshots to the next level by allowing you to manipulate your viewmodel positioning for unique screenshot angles.
sv_cheats 1
Use “cheat protected” commands (Needed for the following commands)
cl_drawhud 0
Hide your HUD (Ammo count and health points) and your crosshair
cl_lock_camera 1
Locks your eyes into place, letting you to move your character about freely. This allows for more interesting screenshots.
r_drawcsplayers 0
Hides your character/agent which can be useful when taking screenshots from specific angles.
viewmodel_always_on 1
Hides your character/agent which can be useful when taking screenshots from specific angles.
r_show_build_info false
Hides the build info text in the bottom left corner.
Other Useful Commands
You can copy and paste these commands in together instead of pasting them one by one.
sv_cheats 1;bot_kick;mp_roundtime 60;mp_roundtime_defuse 60;mp_freezetime 0;mp_warmup_end;sv_infinite_ammo 1;mp_maxmoney 60000;mp_startmoney 60000;mp_buytime 9999;mp_buy_anywhere 1;mp_restartgame 1
These commands will kick all the bots in your lobby, end the warmup period, make it so that you don't run out of time, have infinite money and ammo as well as being able to buy your guns anywhere on the map.
CS2 Inspect Servers
Inspecting any skin can be achieved by joining a public inspect server such as those provided by Epidemic. You can join by typing "connect" followed by the IP of the server into your console or by simply clicking one of the "Join" buttons provided bellow.
| Vertigo | connect vertigo.epidemic.gg | Join |
| Nuke | connect nuke.epidemic.gg | Join |
| Dust 2 | connect dust2.epidemic.gg | Join |
| Mirage | connect mirage.epidemic.gg | Join |
| Siege | connect siege.epidemic.gg | Join |
| Biome | connect biome.epidemic.gg | Join |
| Vertigo | connect 149.202.64.64:27019 | Join |
| Nuke | connect 149.202.64.12:27019 | Join |
| Dust 2 | connect 164.132.200.5:27019 | Join |
| Mirage | connect 164.132.200.10:27019 | Join |
| Office | connect 164.132.200.10:27019 | Join |
| Italy | connect 164.132.200.9:27019 | Join |
Using Commands on a Public Server
In order to use commands on a public server you must first start a practice server and enable sv_cheats 1 in the developer console. Without leaving the private practice server, join directly into the public server.
Hiding your Hands
Currently, the only way to hide your hands for a screenshot in CS2 is by using the "/hands" command in chat on one of the OhnePixel Inspect Servers.
Generate Any Skin
Once you join one of these inspect servers you will need to use 'Gencodes' to generate your skin. Gencodes are a code which represent a skin with stickers and wear. Gencodes have become a valuable tool for CS:GO players looking to capture beautiful in-game screenshots without owning every skin they want to feature.
Start by selecting a trustworthy gencode generator website, such as cs-gencodes.com. These websites allow you to input specific details like skin, stickers, and wear levels to generate a unique gencode for your desired configuration.
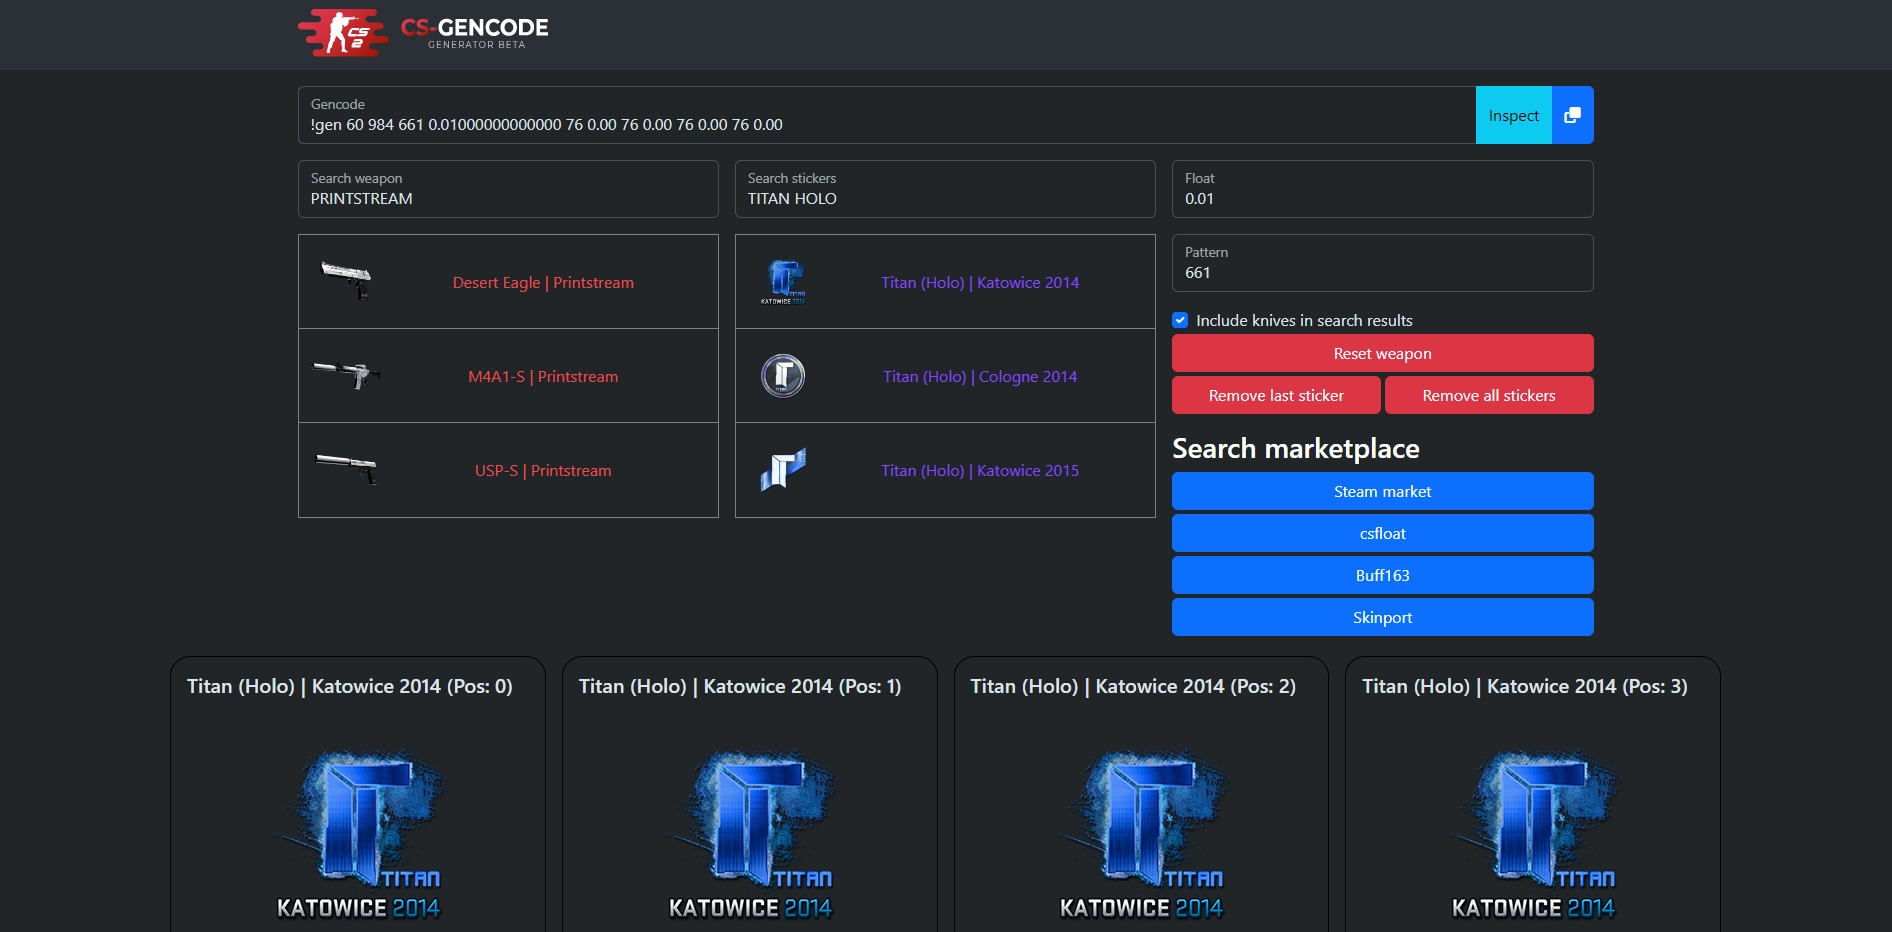
After finalizing your choices, the gencode generator will provide a unique code. Copy this code and paste it into the in-game chat to apply the selected skin, stickers, and wear to your weapon.
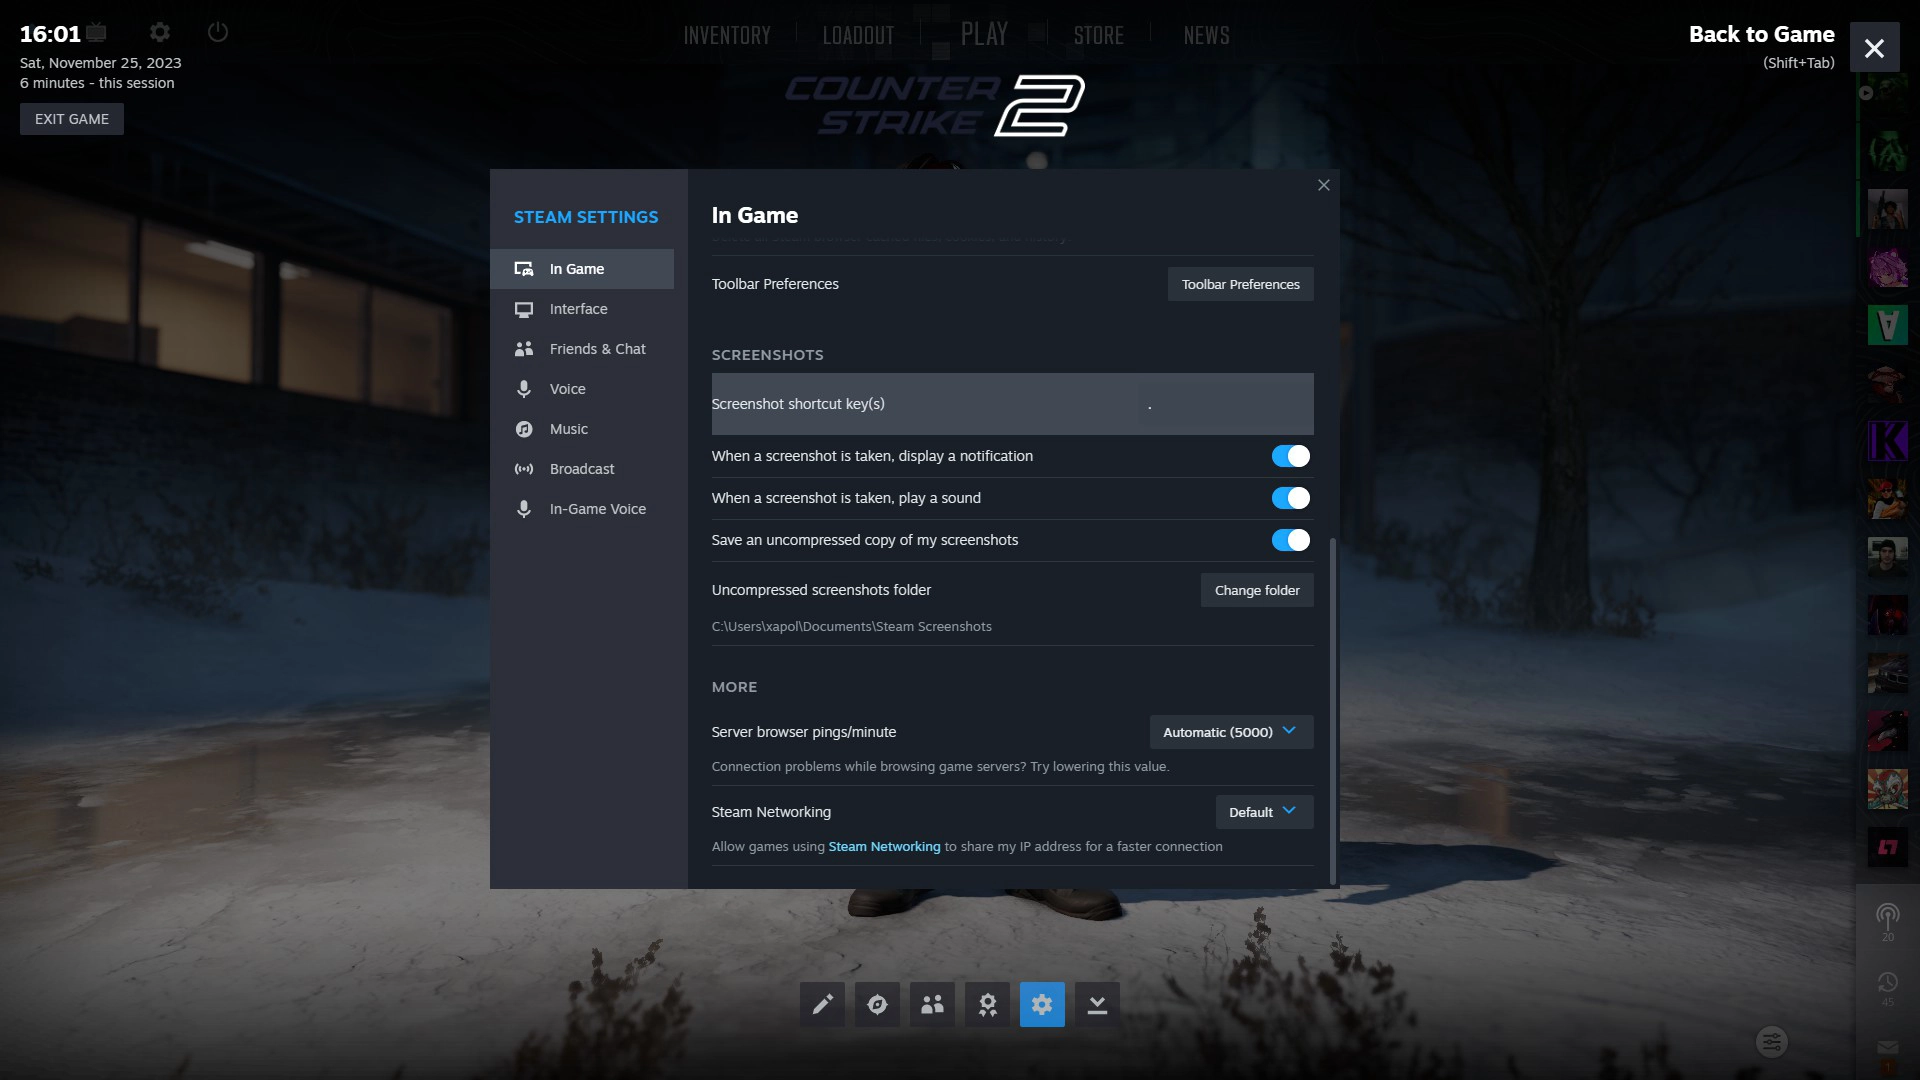
Change the Default Screenshot Keybind
If you wish to change the default screenshot key, you can do so by pressing Shift and Tab simultaneously to open the Steam overlay, clicking on the settings cog, and scrolling to the bottom of the "In-Game" tab.
To view or manage your screenshots, access the Steam overlay by pressing Shift + Tab, navigate to "View Screenshots," and select Counter-Strike from the game list. From there, you can organize, edit and share your captured images as needed.
Taking the Screenshot
To capture a screenshot in Counter-Strike 2, press the F12 key, which is the default hotkey. Note that on certain systems, you might need to press the FN key along with F12. This will capture a screenshot and store it in your Steam screenshots folder.
Change the Default Screenshot Keybind
If you wish to change the default screenshot key, you can do so by pressing Shift and Tab simultaneously to open the Steam overlay, clicking on the settings cog, and scrolling to the bottom of the "In-Game" tab.
To view or manage your screenshots, access the Steam overlay by pressing Shift + Tab, navigate to "View Screenshots," and select Counter-Strike from the game list. From there, you can organize, edit and share your captured images as needed.
Photo Editing
Programs
Adobe Photoshop
When it comes to image editing, Adobe Photoshop stands as the undisputed leader, offering a comprehensive suite of tools for refining your Counter-Strike skin screenshots. Recognized as the industry standard, Photoshop allows you to effortlessly adjust colours, fine-tune details, and even swap out backgrounds for that perfect shot. However, this professional-grade software comes at a cost. With a monthly subscription fee of £21.98, Photoshop can be a substantial investment for gamers and content creators. While it undeniably delivers unparalleled editing capabilities, for those seeking a more budget-friendly alternative without compromising on features, free options like GIMP can be a game-changer.
Gimp
When it comes to refining your Counter-Strike skin screenshots without breaking the bank, GIMP is your go-to solution. As a free and open-source alternative to Photoshop, GIMP packs a punch with its user-friendly interface and a comprehensive suite of editing tools. Whether you're tweaking colours, adjusting contrast, or adding that extra touch ofS finesse, GIMP empowers gamers and content creators to enhance their screenshots effortlessly. Unleash your creativity without the price tag!
Tips
Levels
Use the "Image > Adjustments > Levels" option to adjust the overall brightness, contrast, and color balance of your Counter-Strike screenshots.
Changing the background
Utilize the Polygonal Lasso tool to cut out specific elements in the screenshot. This allows you to isolate objects or characters and place them on a new background for a customized look.
Conclusion
In conclusion, capturing beautiful CS2 skin screenshots involves a combination of optimizing your game settings, selecting appropriate maps, adjusting your viewmodel, and utilizing useful console commands. Hiding the HUD and crosshair, exploring CS2 inspect servers, and increasing resolution are essential steps. Finally, capturing the perfect shot is followed by the option of enhancing it further through photo editing. By following these straightforward steps, you can elevate the visual appeal of your CS2 skin screenshots and showcase them in the best possible light.

Your trusted source for all things CS2 skins, delivering the latest tips and insights to enhance everything related to collecting CS2 skins, mastering inventory management, and creating sticker crafts. Explore the world of Counter-Strike 2 skins and elevate your collection with expert tips and insights.
CS2 Player spends £260,000 on a M41A-S skin
Another absolutely insane Counter-Strike skin has been 'crafted', and this time with a record-breaking £260,000 / $320,000 price tag.
How to organize your CS inventory
Delve into the specifics of how to organize your Counter-Strike inventory and why it's a practice every player should adopt.
CS2 Skin Screenshot Guide
Learn advanced skin screenshot techniques using console commands to enhance your Steam profile or elevate your cash trading on platforms like Twitter.